Publish on Channels
To show your content on the screens, you need to create a booking on the channel which is used by your screens. You can use a single channel showing in fullscreen or have multiple channels on different areas of your screens.
If you cannot see any screens or bookings, you should contact your administrator for help, since you are probably missing some permissions for the screens in question.
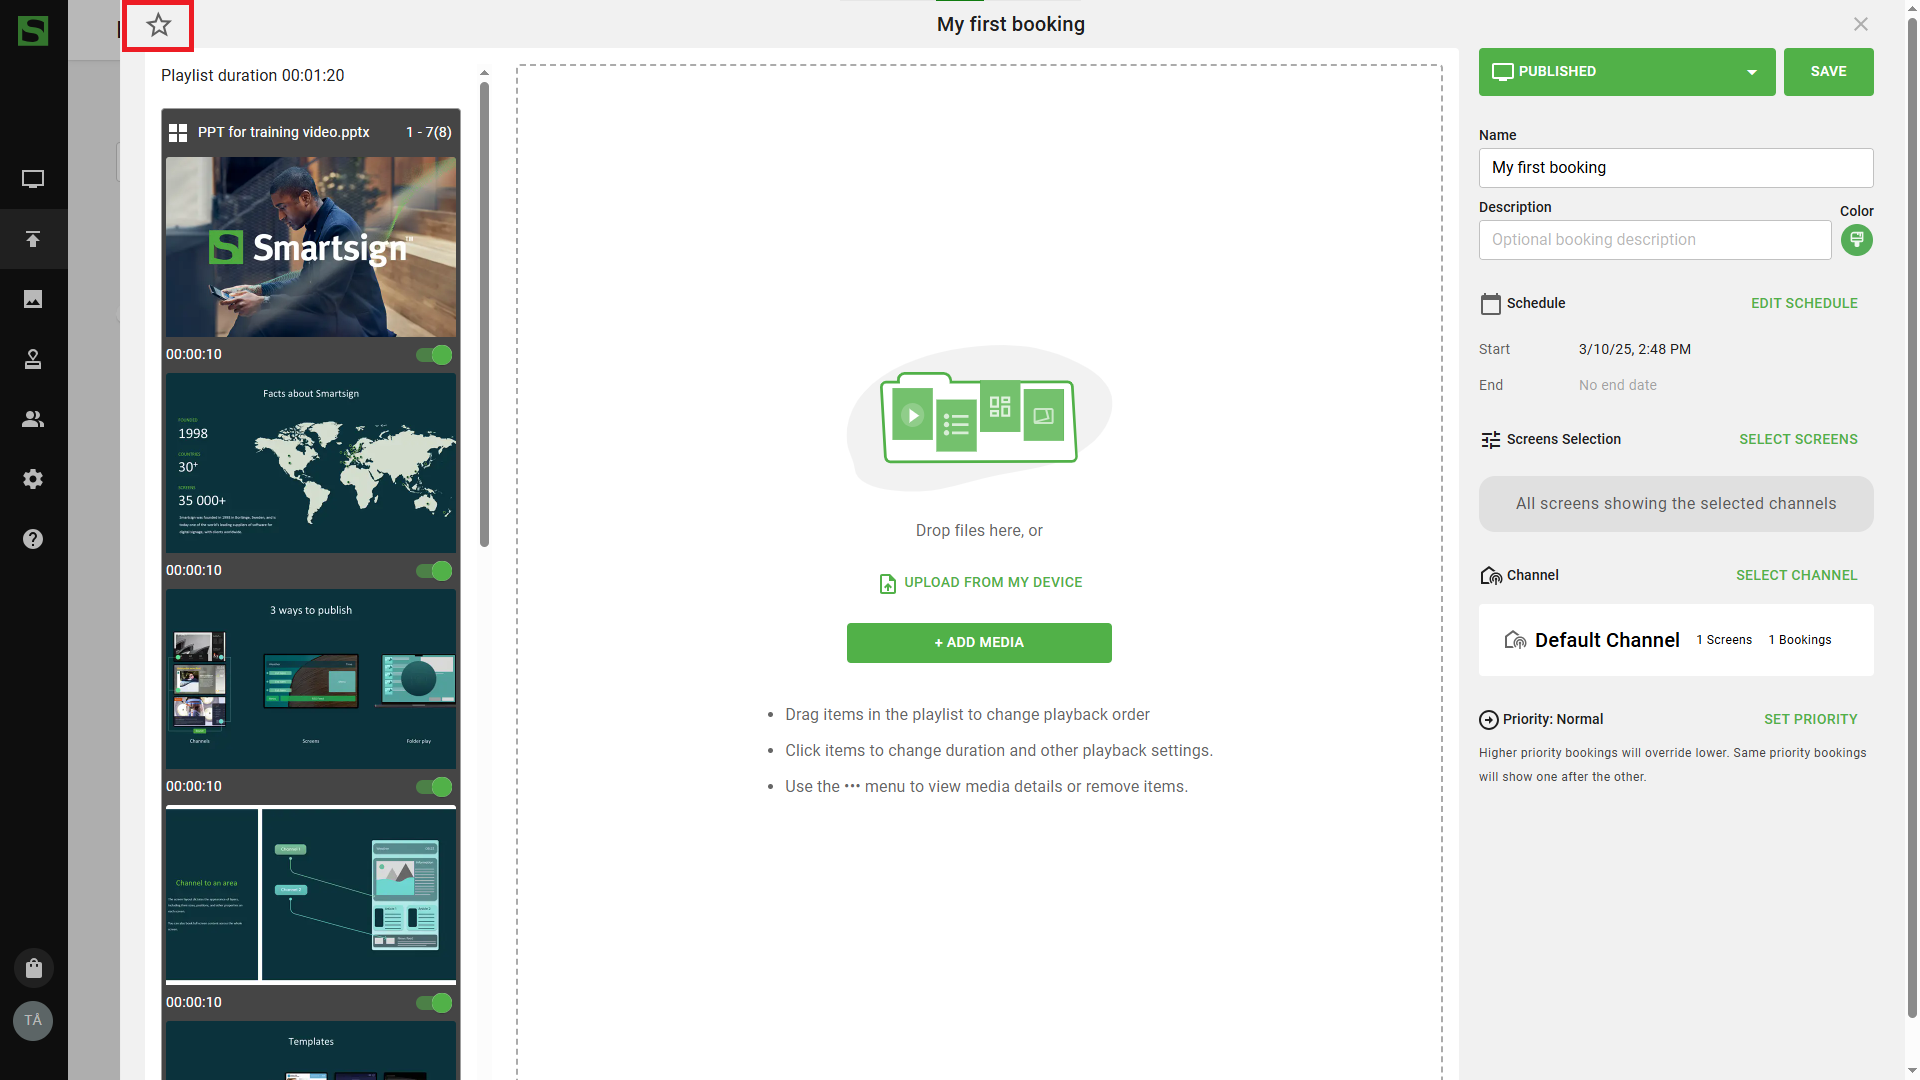
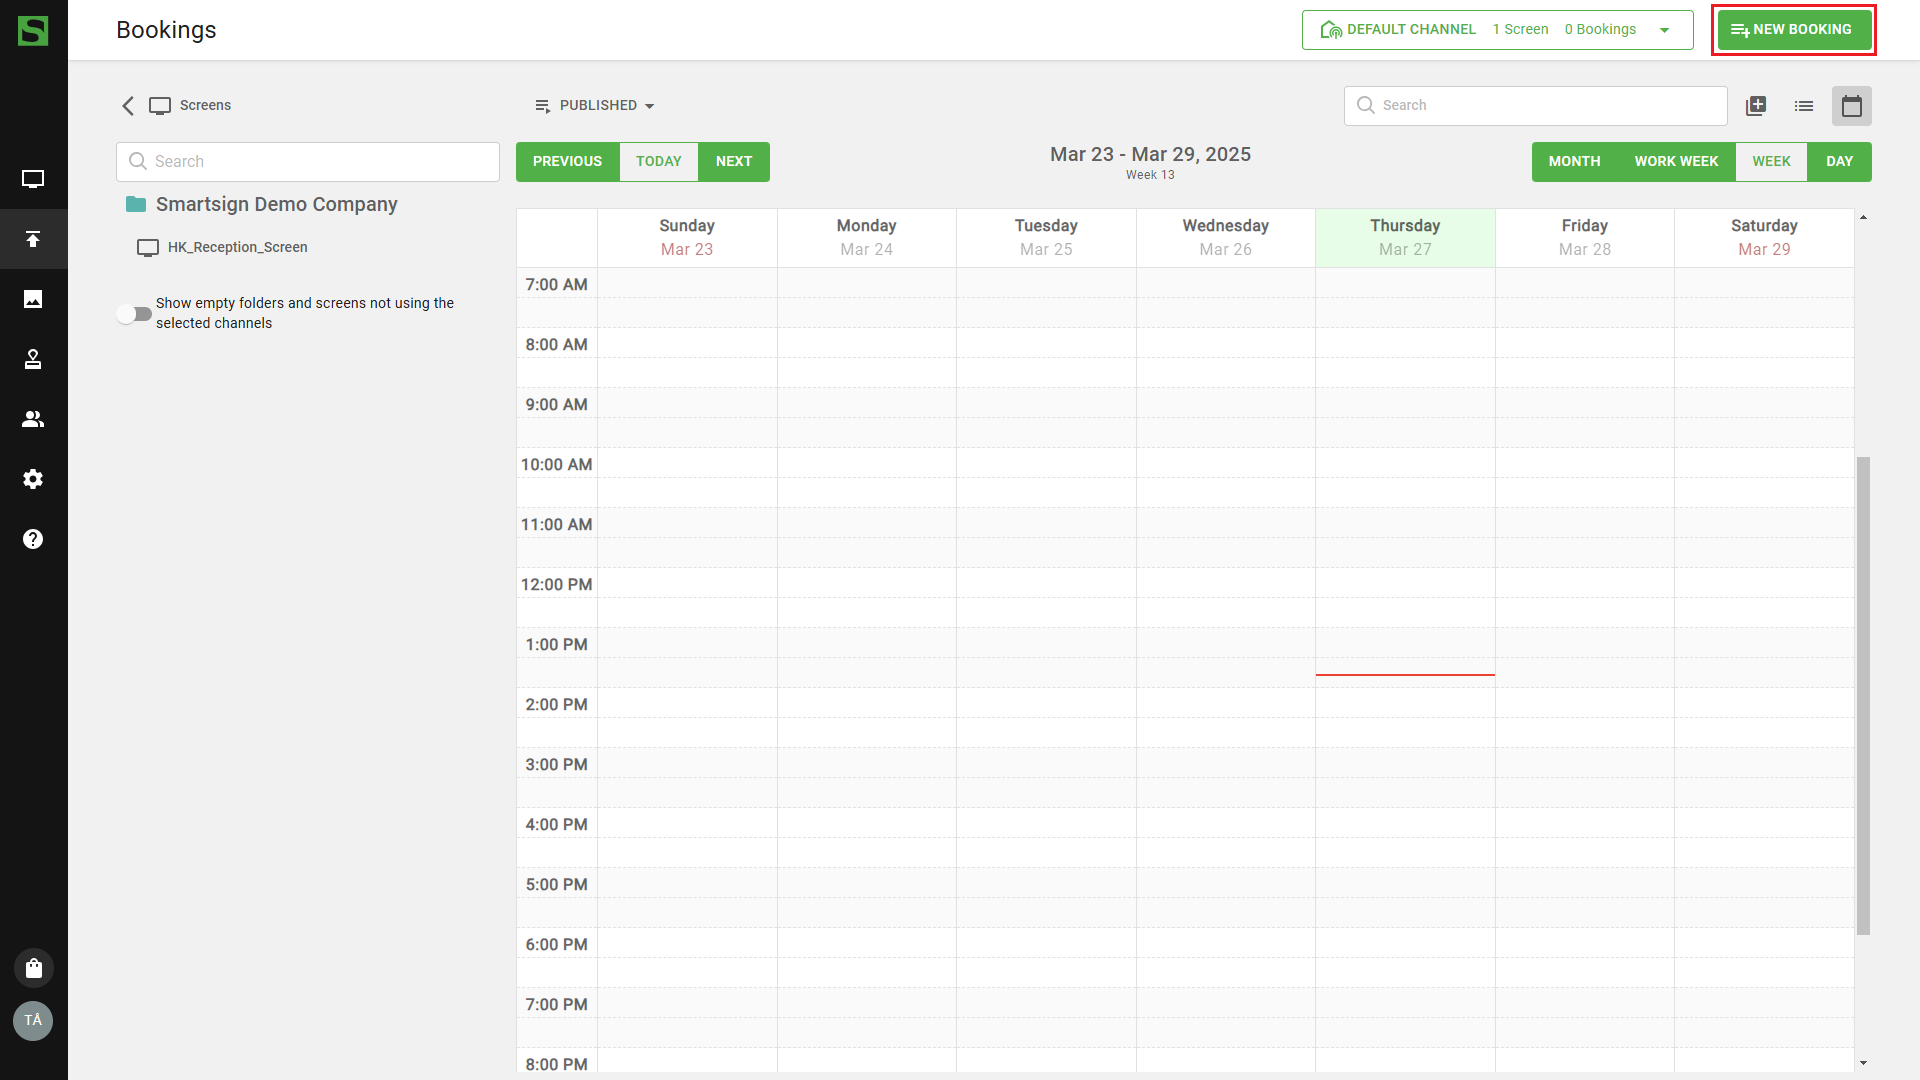
Create a new booking
Video Guide
Configuration steps
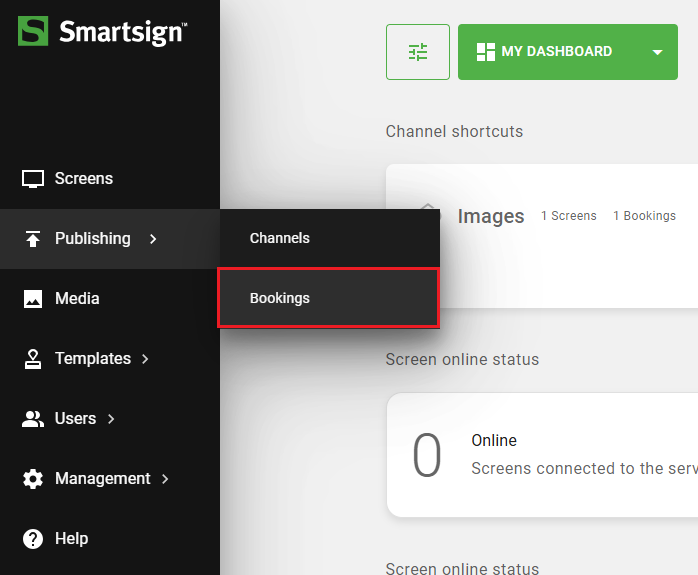
Go to Publishing - Channels
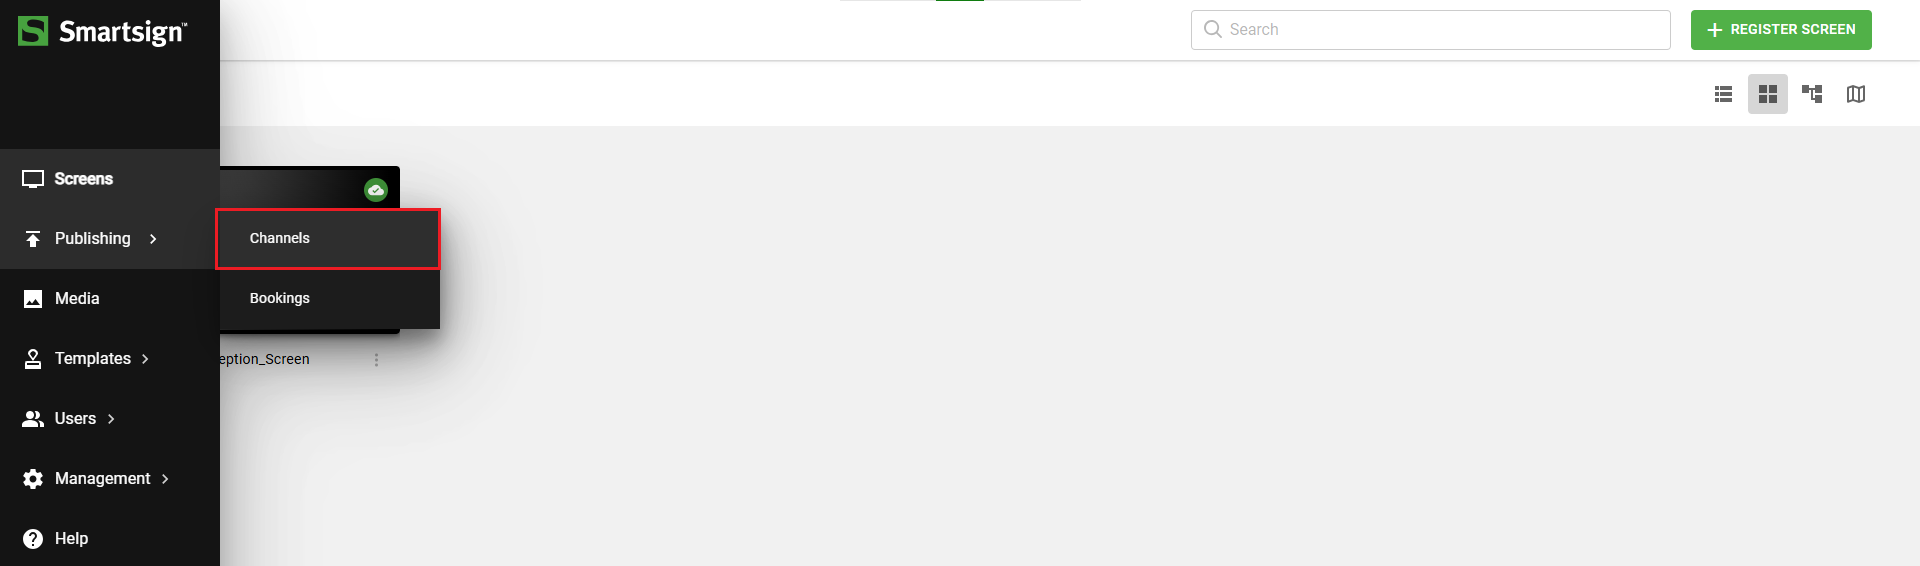
Select channel
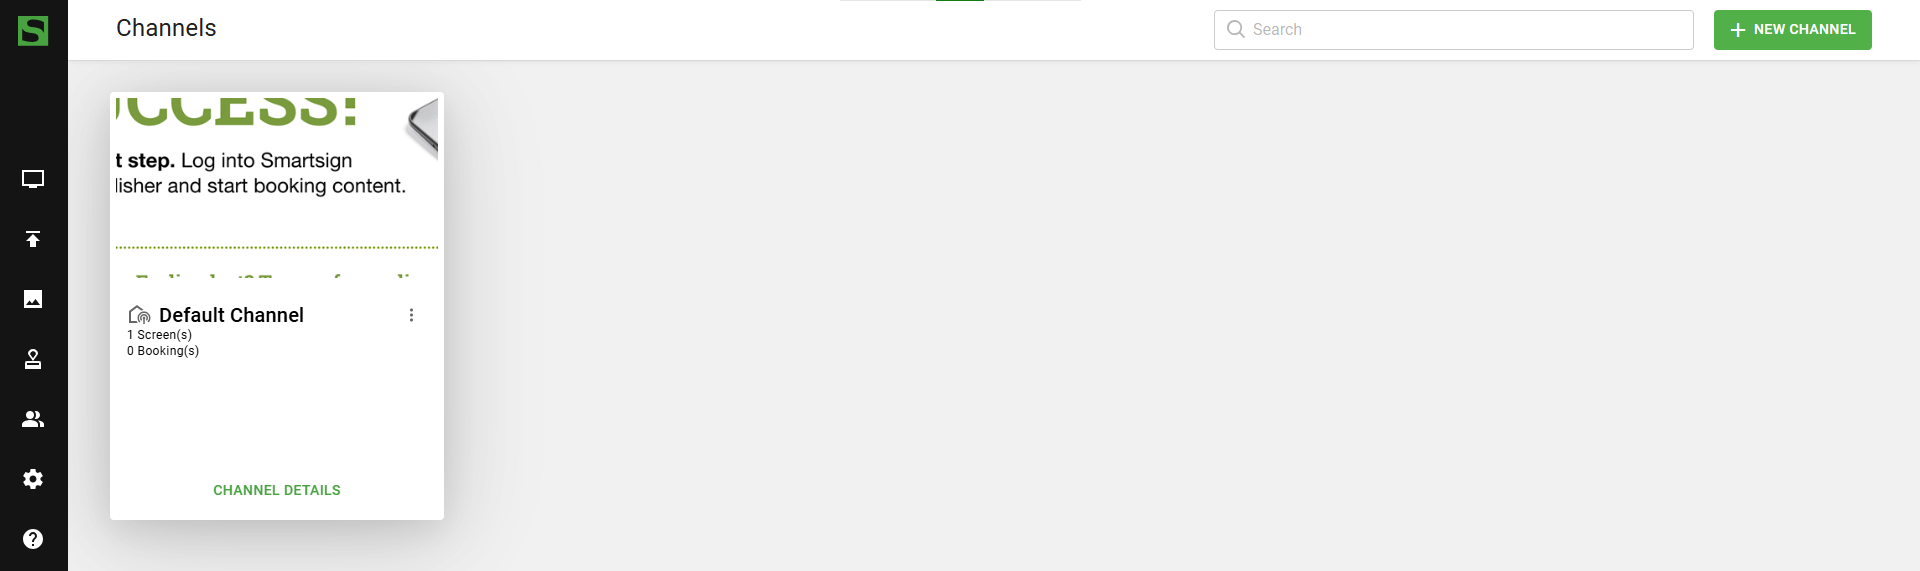
Here you can see the channels that you have access to. If you are using a standard installation, a default channel will show which plays media in fullscreen.
You can use channels for different information or on different parts of a screen layout.
Learn more in the [admin guide]
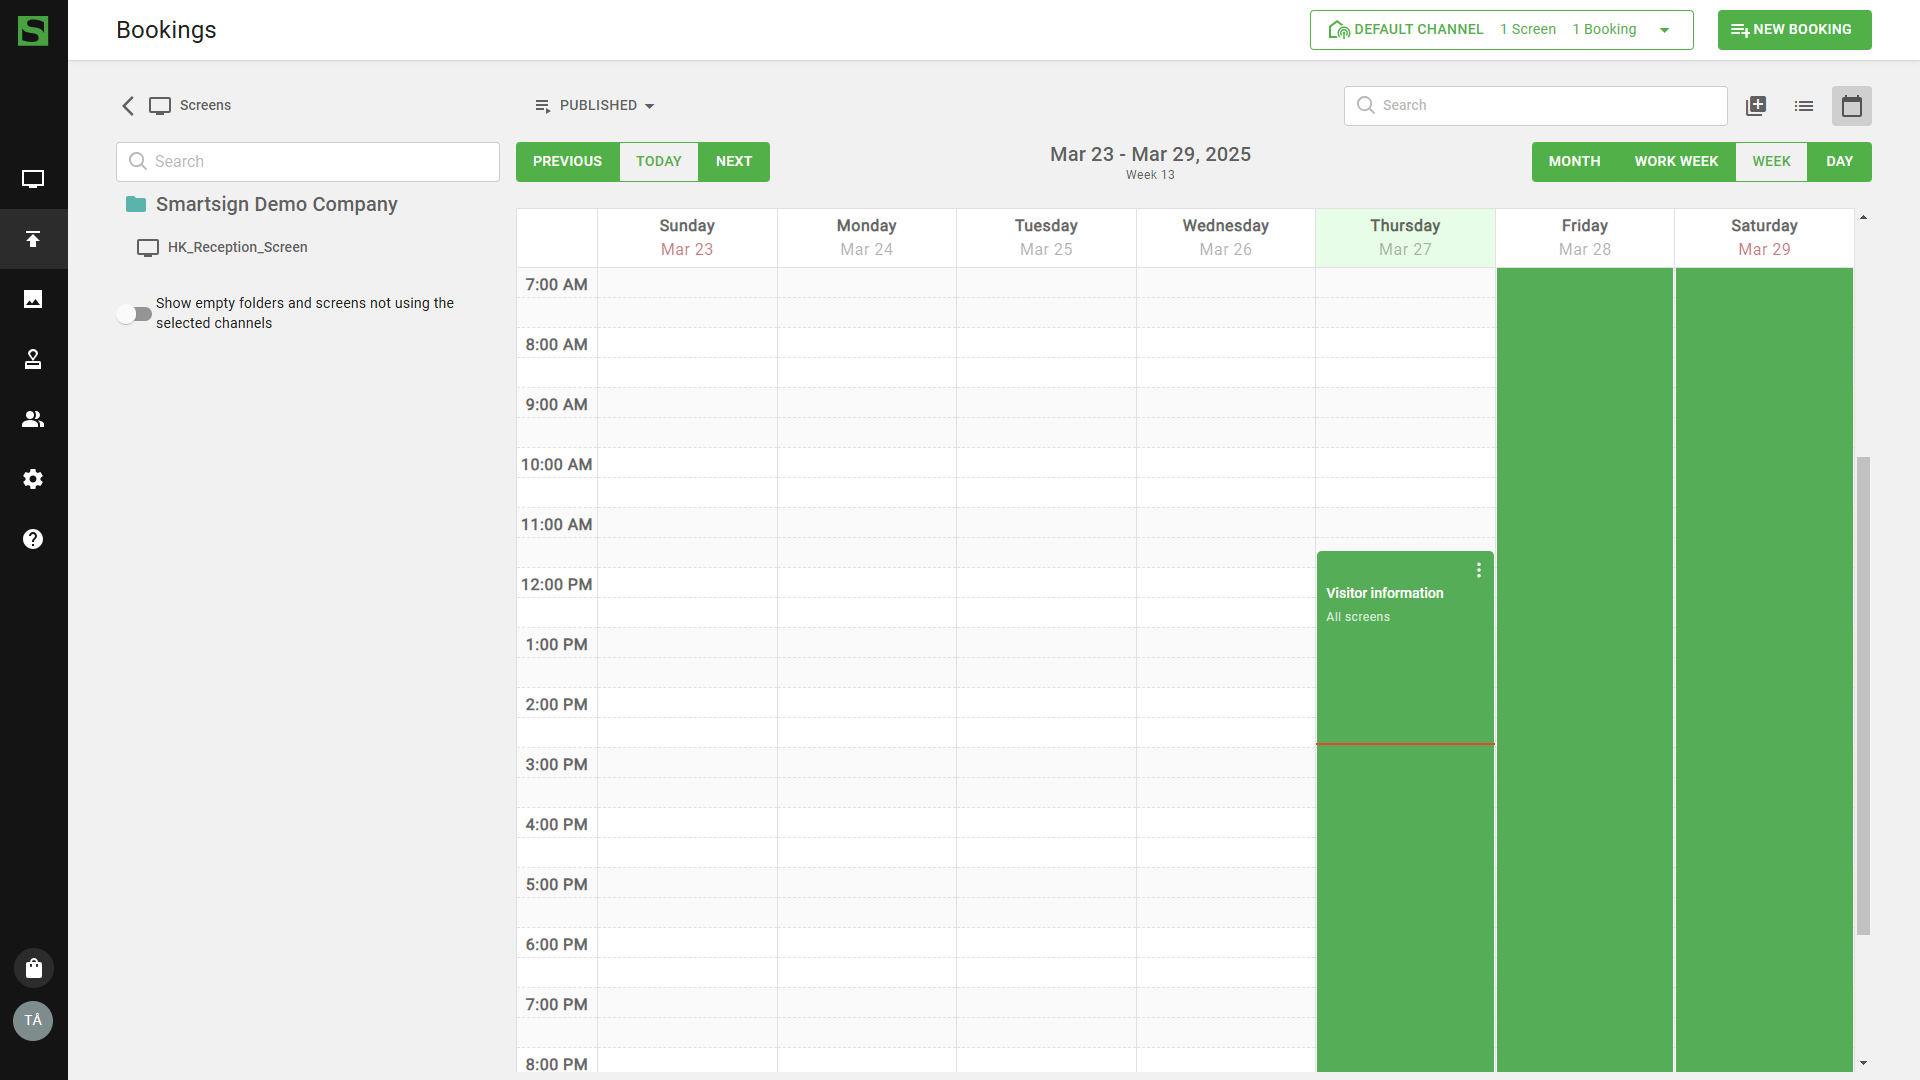
Click on a channel will open the calendar of that channel.
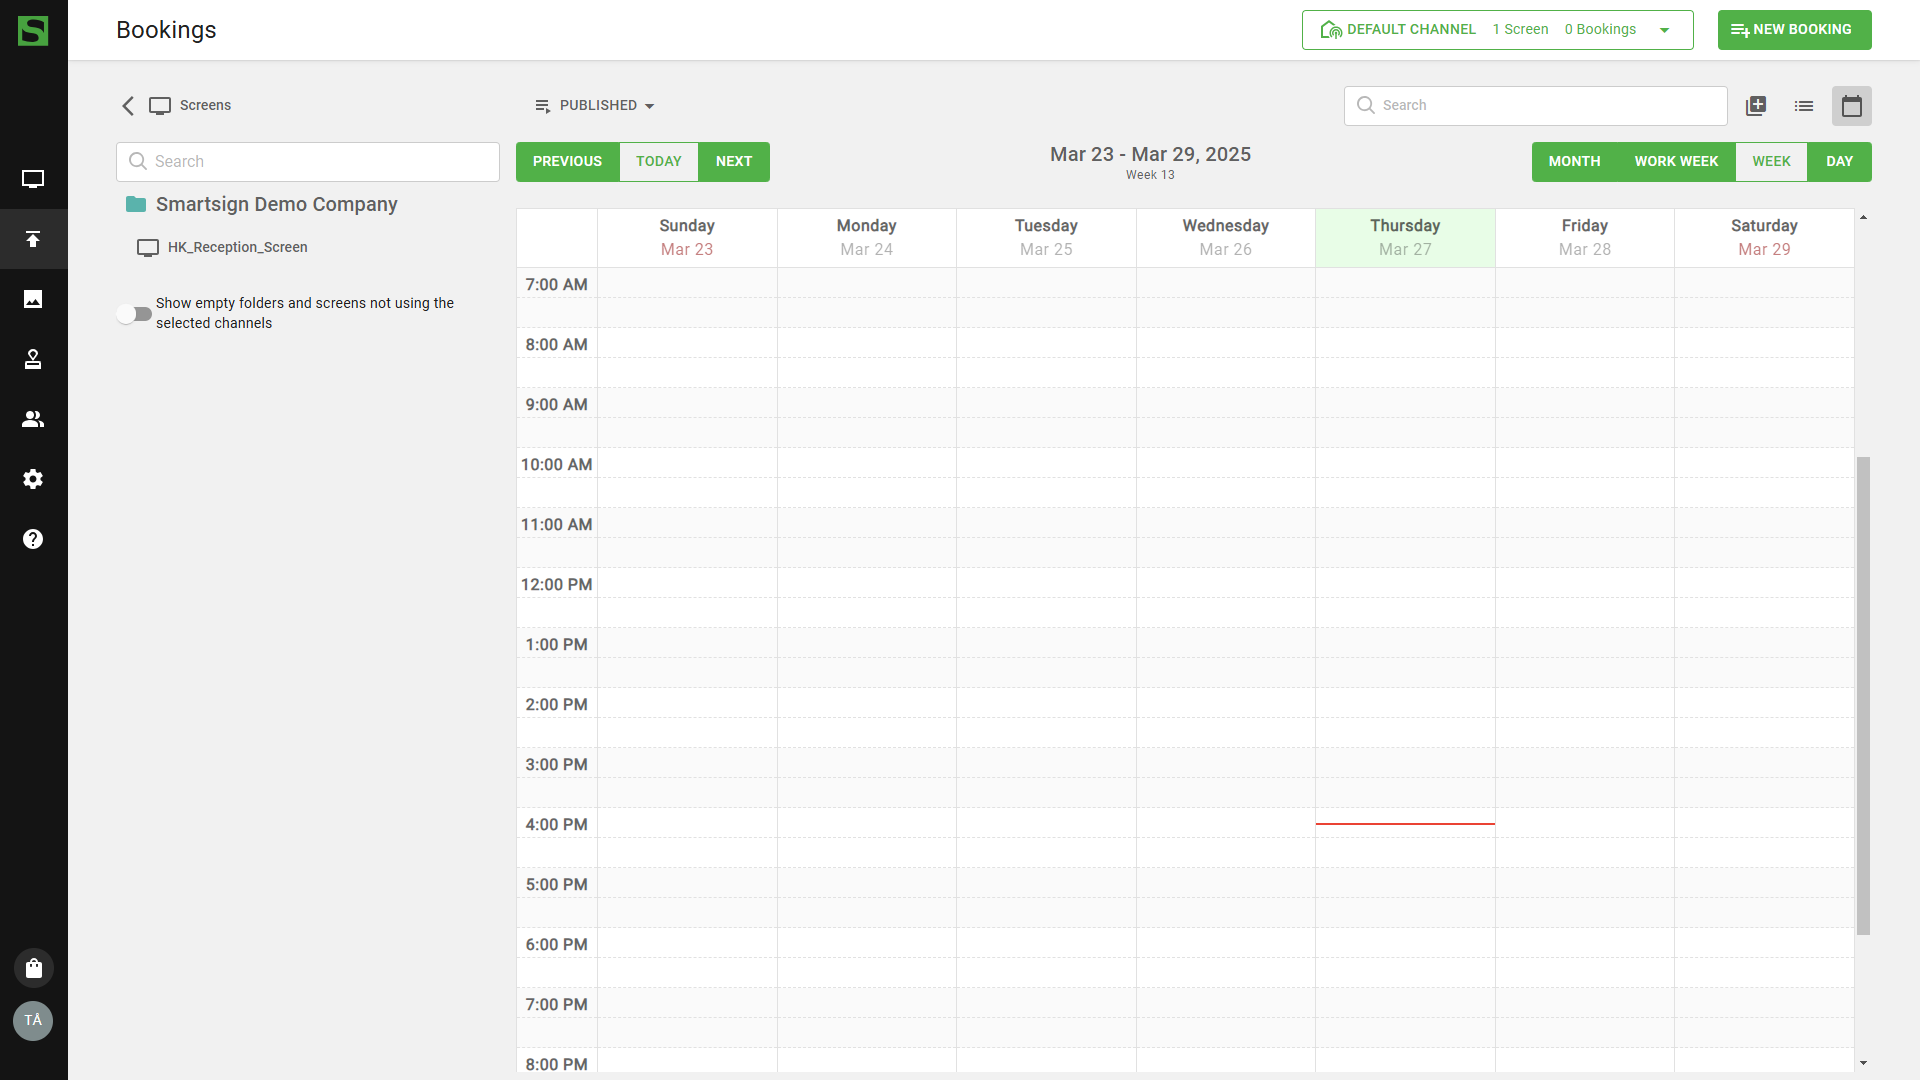
The calendar gives you an overview of the bookings that are scheduled on the channel, and you can see current and upcoming bookings in the schedule.
Create booking
Click New Booking to get started.
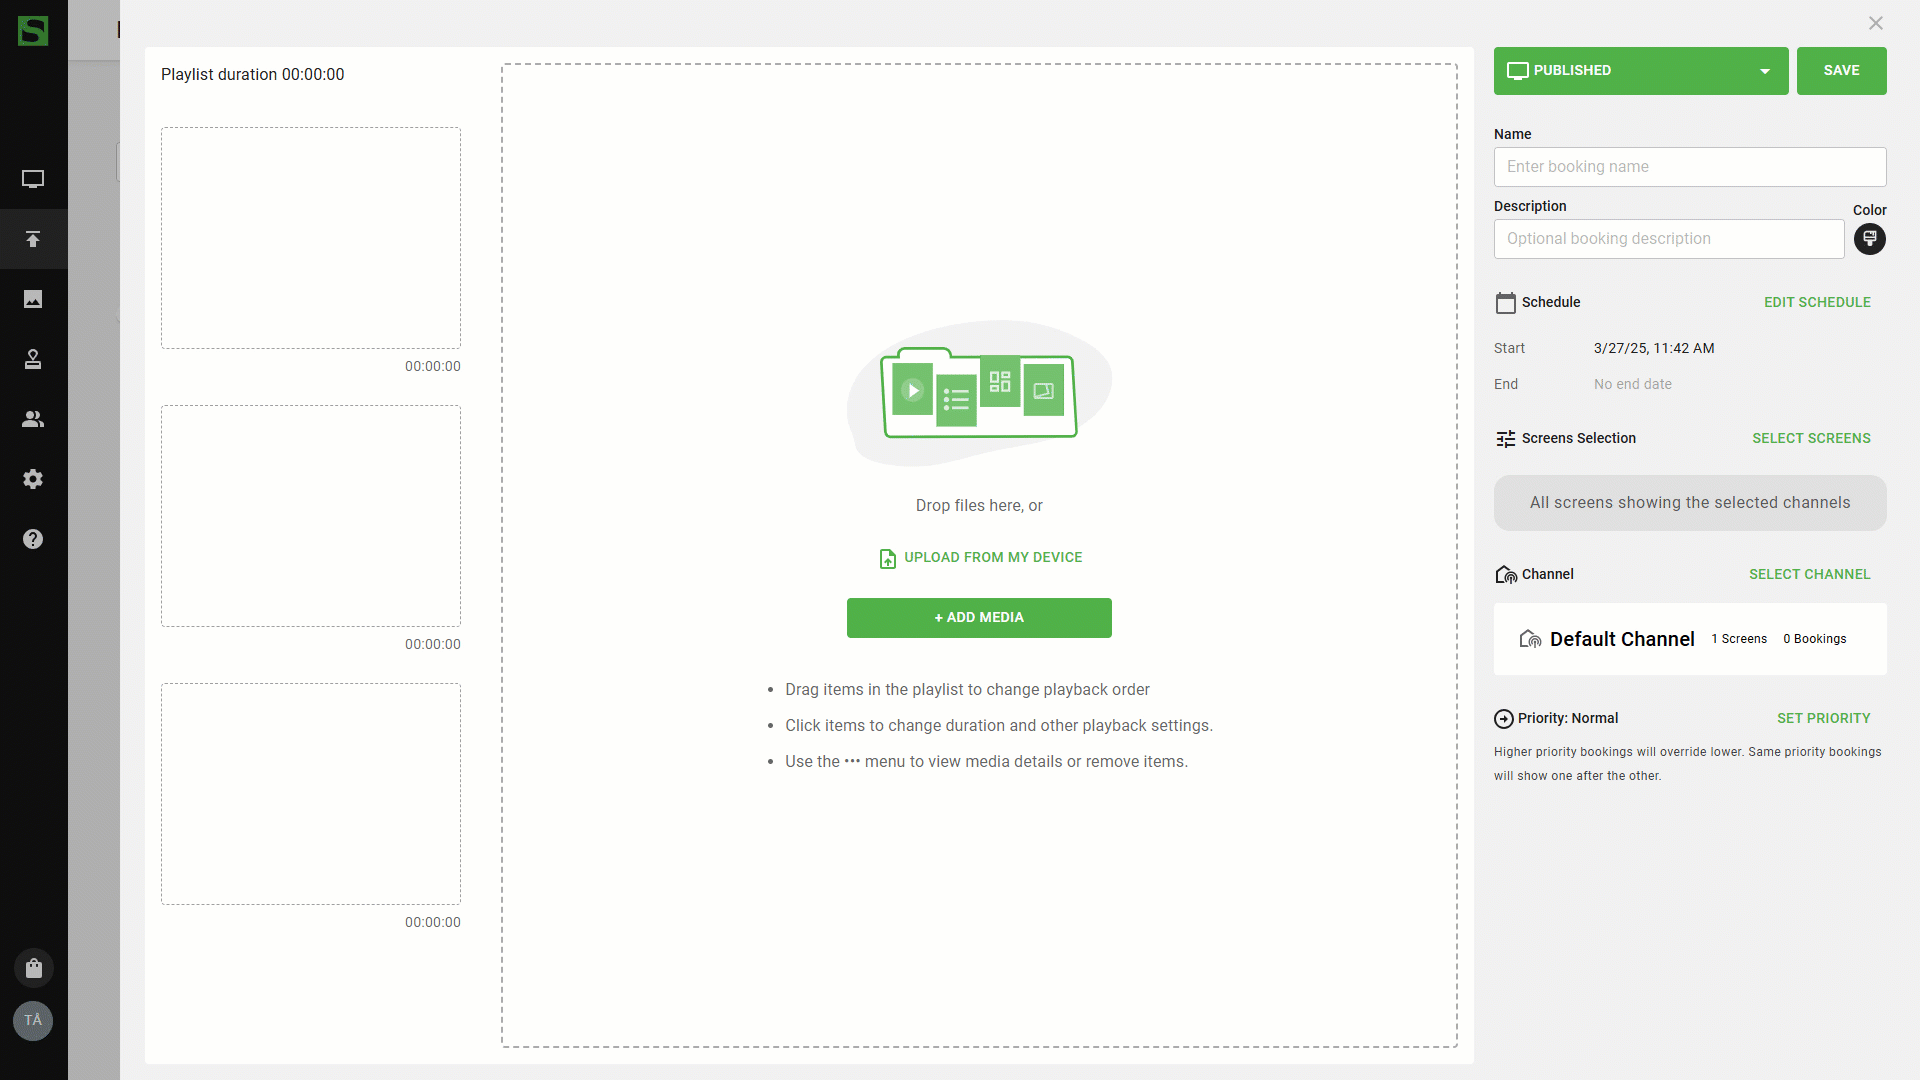
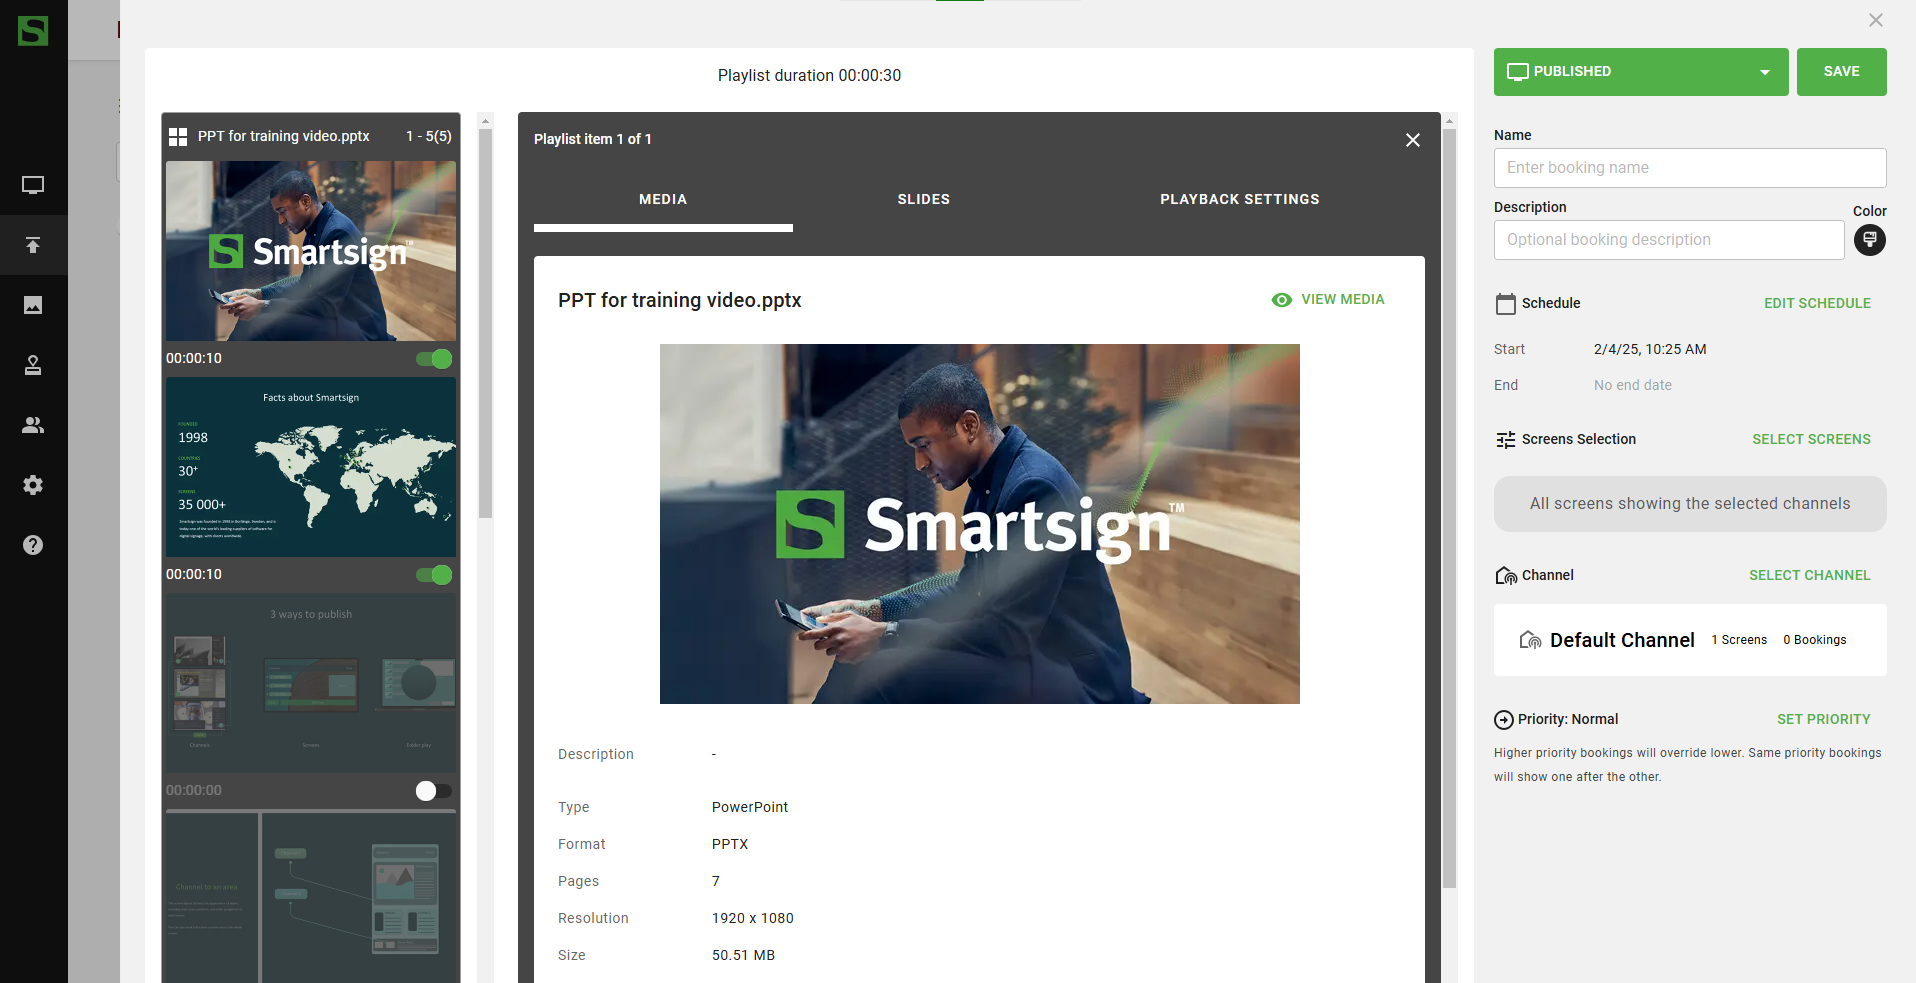
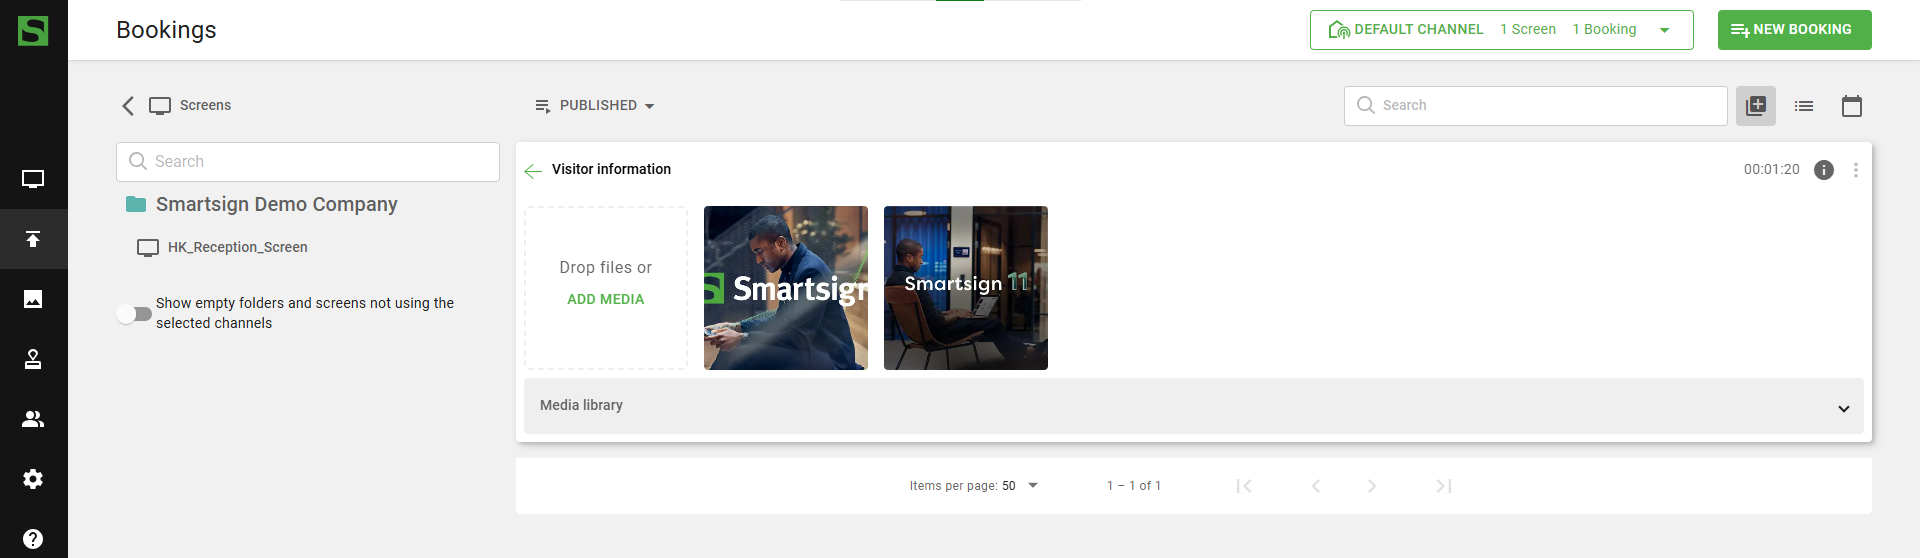
Add media
You can drag and drop media items directly to the playlist, or browse your computer to upload multiple media items at once.
If you use the add media, button, you can see more upload options.
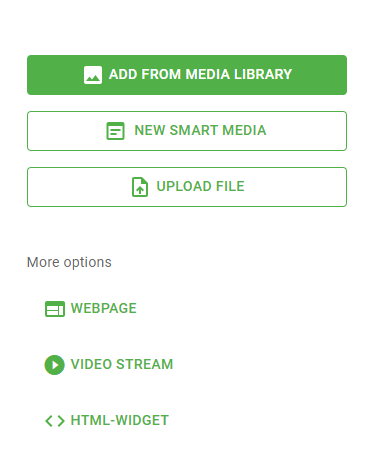
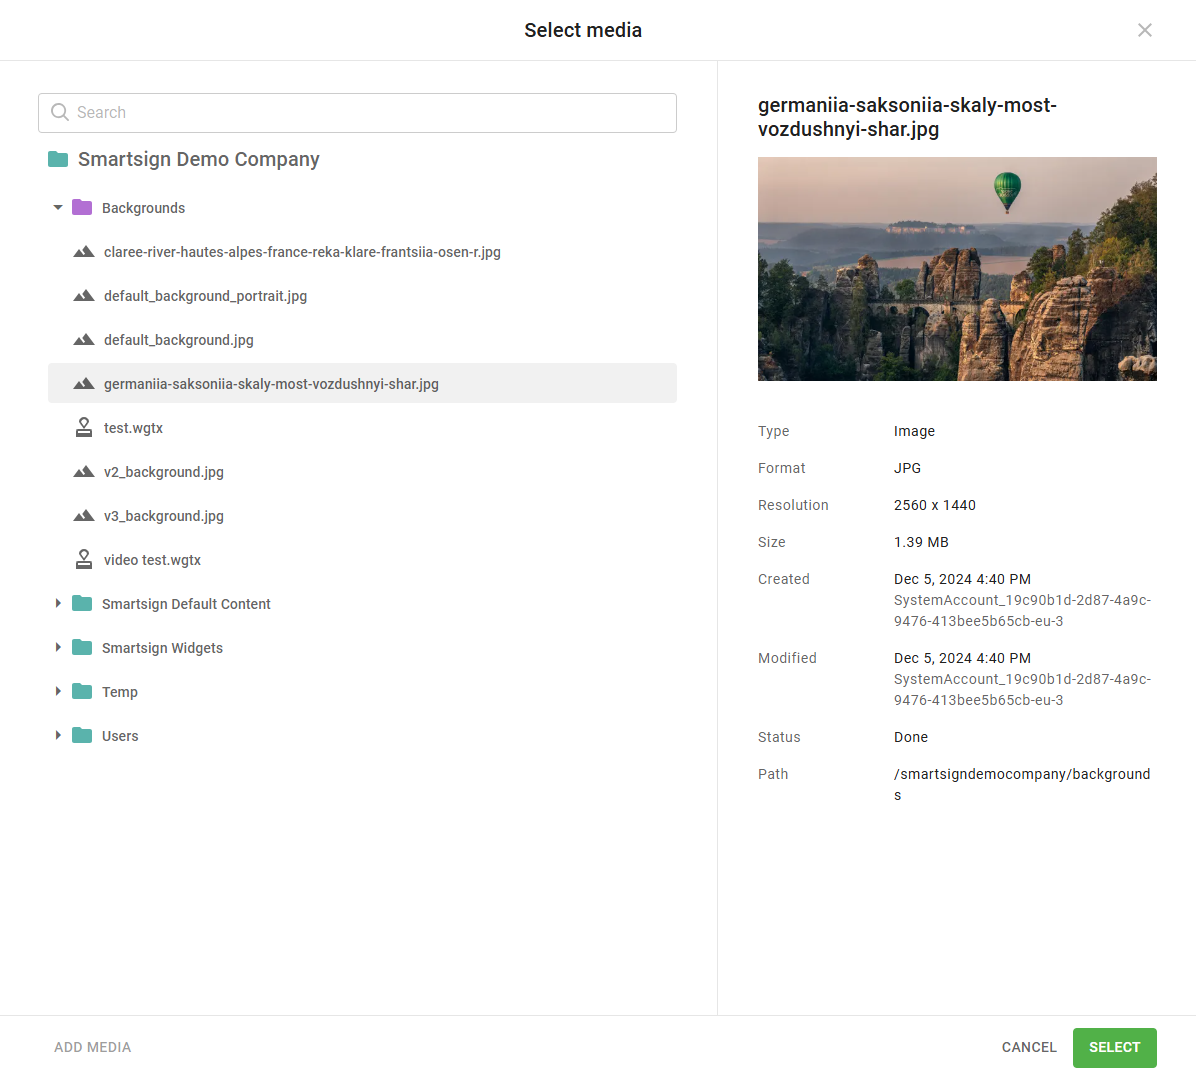
- Add from media library
- Use Media Library to select previously uploaded media or upload media to existing folders.
- New Smart Media
- Use Smart Media templates to create your own message and publish directly on your screen. Read more
- Upload File
- Use media from online sources like OneDrive, Google Drive or select images from online services like Pexels.
- Webpage
- Show content from different webpages. Read more...
Media settings
Click on individual media items to see details and edit playback settings, audio (for video) and duration for each item.
If you upload a document with multiple pages (Word, PPT or PDF), you will be able to adjust duration for each slide in Smartsign.
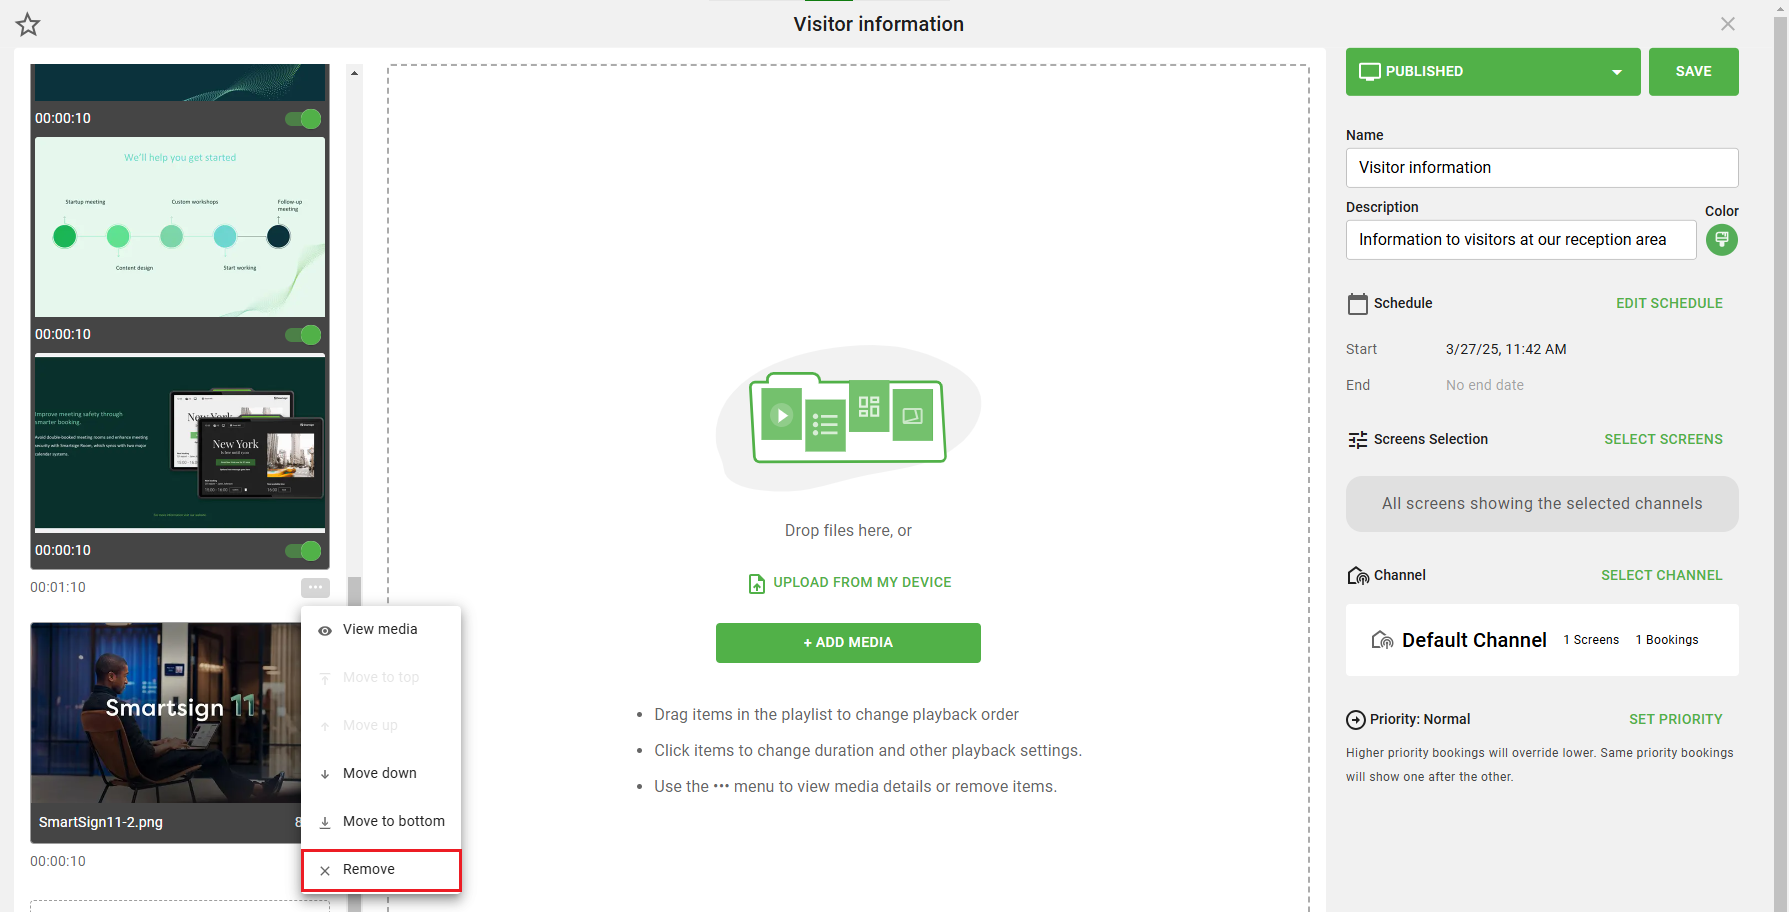
You can also change the order of the items by dragging and dropping them in the playlist.
To remove an item from playlist, click the options button and select remove.
Booking settings
Customize the booking settings based on your needs.
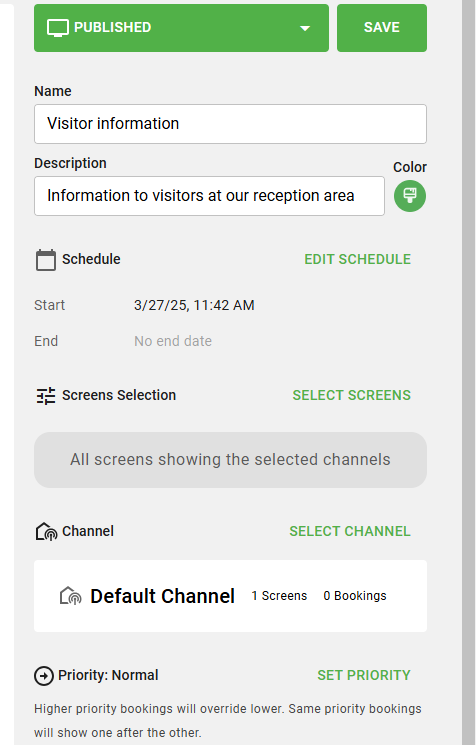
- Name
- Use a clear and easily identifiable name for the booking.
- Description (optional)
- Using a good description of your booking makes it easier if you are multiple users working with the screens.
- Color (optional)
- Use different colors for your bookings to help you with a good overview if you use different bookings for corporate info, lunch menus etc.
- Schedule
- Edit the schedule if you want individual settings for the booking. If schedule is left unchanged, content will show as per active time settings in the screen folder.
- Screen selection
- Select screen if you only want to show booking on individual screens, otherwise it will play on all screens showing the channel.
- Priority
- Use priority to highlight certain content. Go to Booking priority below to learn more.
Save booking
Press save to complete the booking and you can now see it in the calendar.
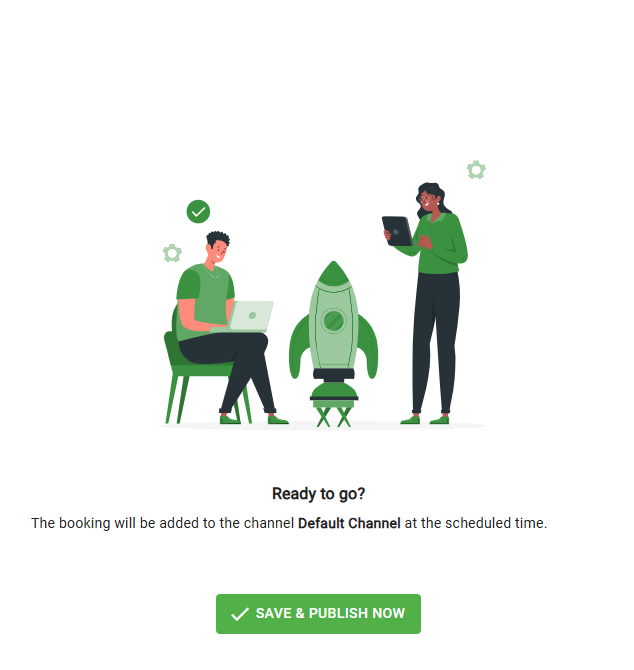
When a booking is saved, the scheduled content will be downloaded to the selected screens and start playing when download is complete.
View existing bookings
You can see all the existing bookings for each channel in the calendar by going to Pulishing - Bookings
You can switch between channels in the upper menu.
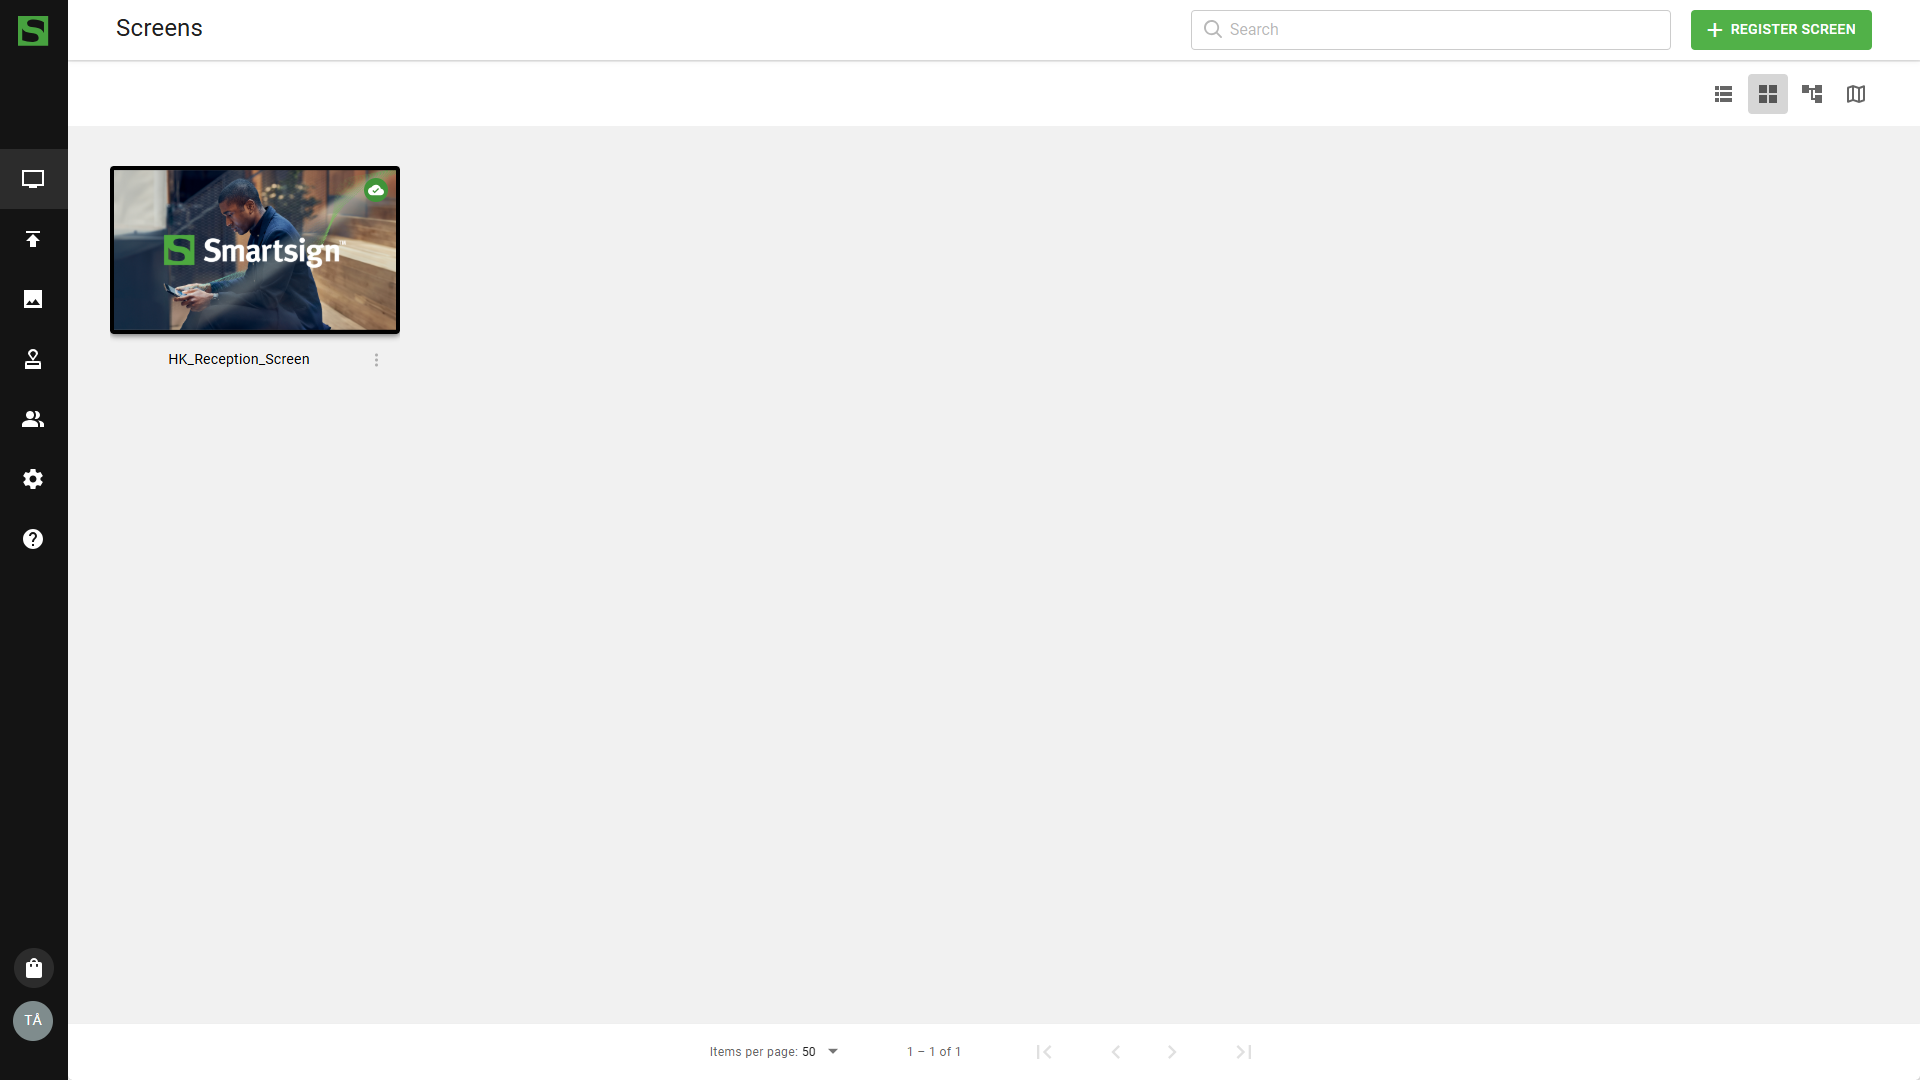
There are three different views for managing your bookings. All views show your available screens on the left side. When selecting a screen folder, you will see all bookings for that folder. All screens within that folder will show that content by default.
You can also select individual screens to show any screen-specific bookings.
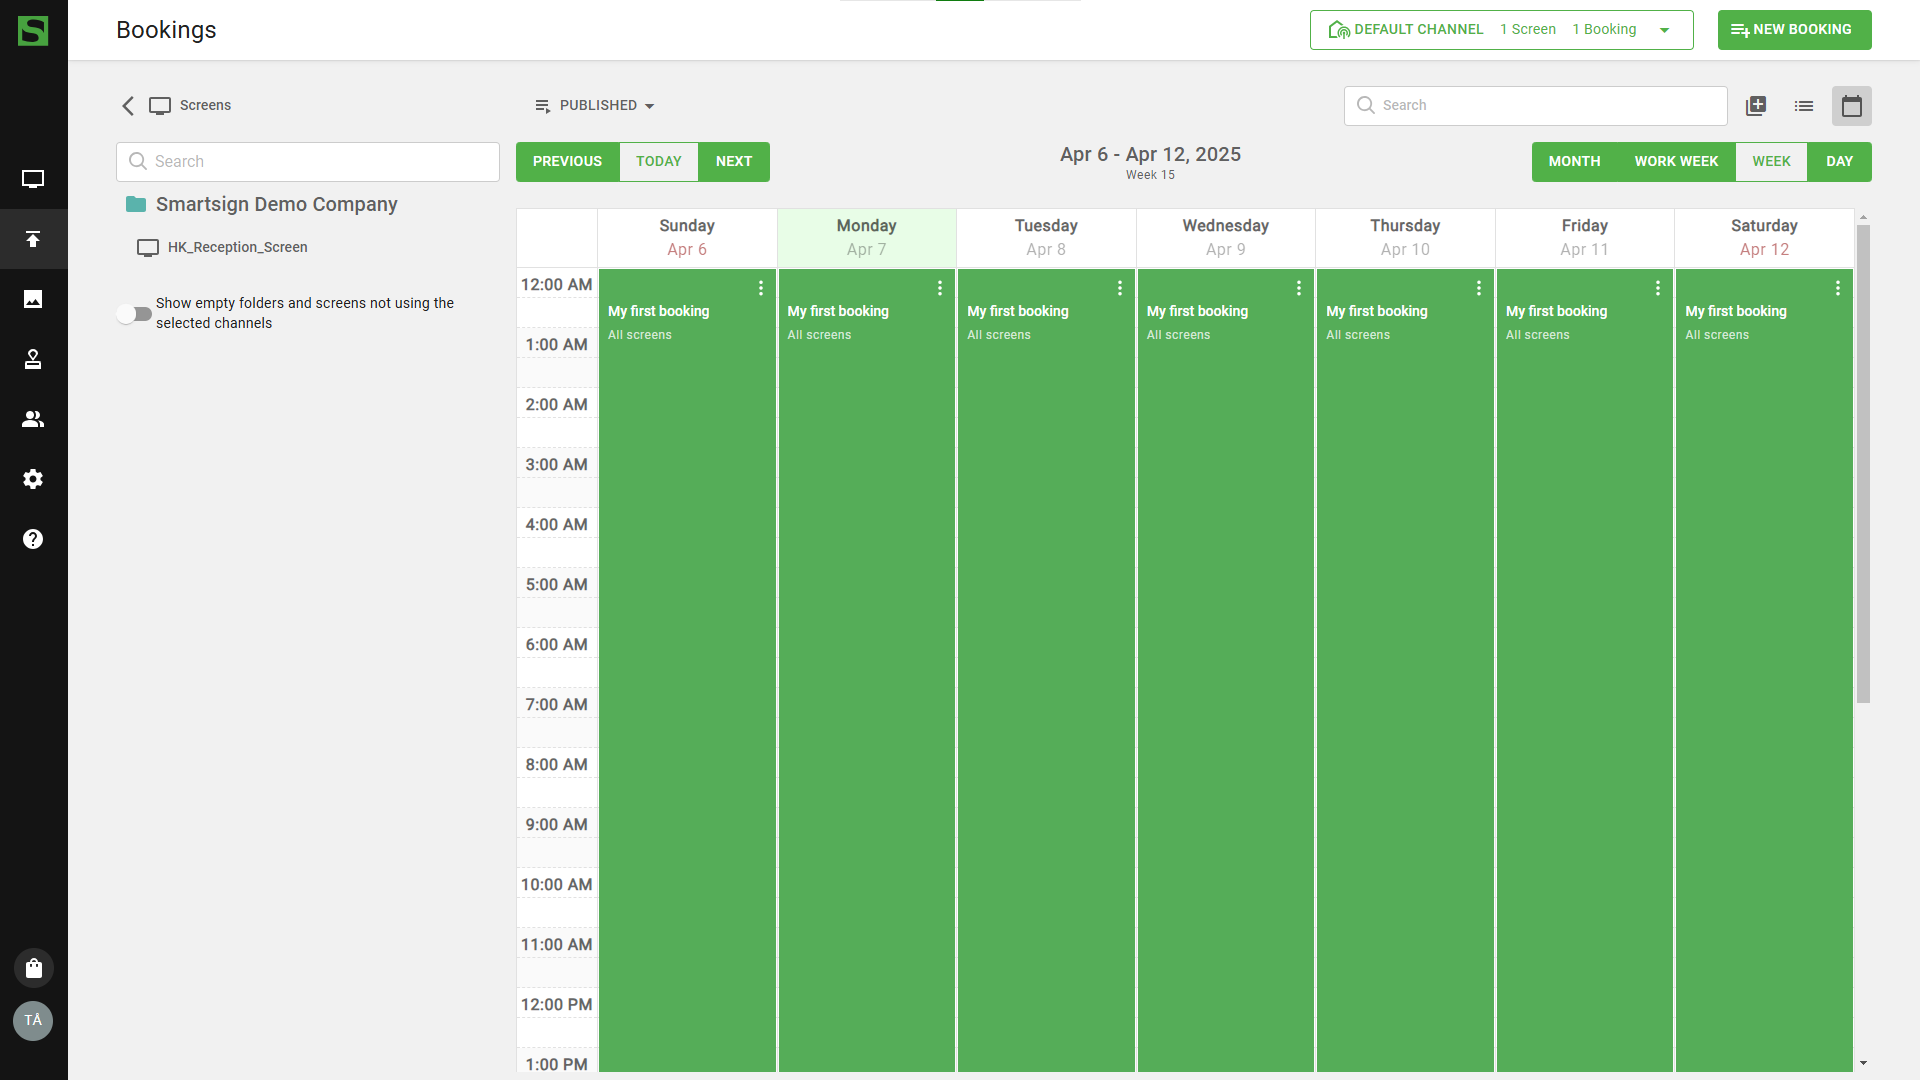
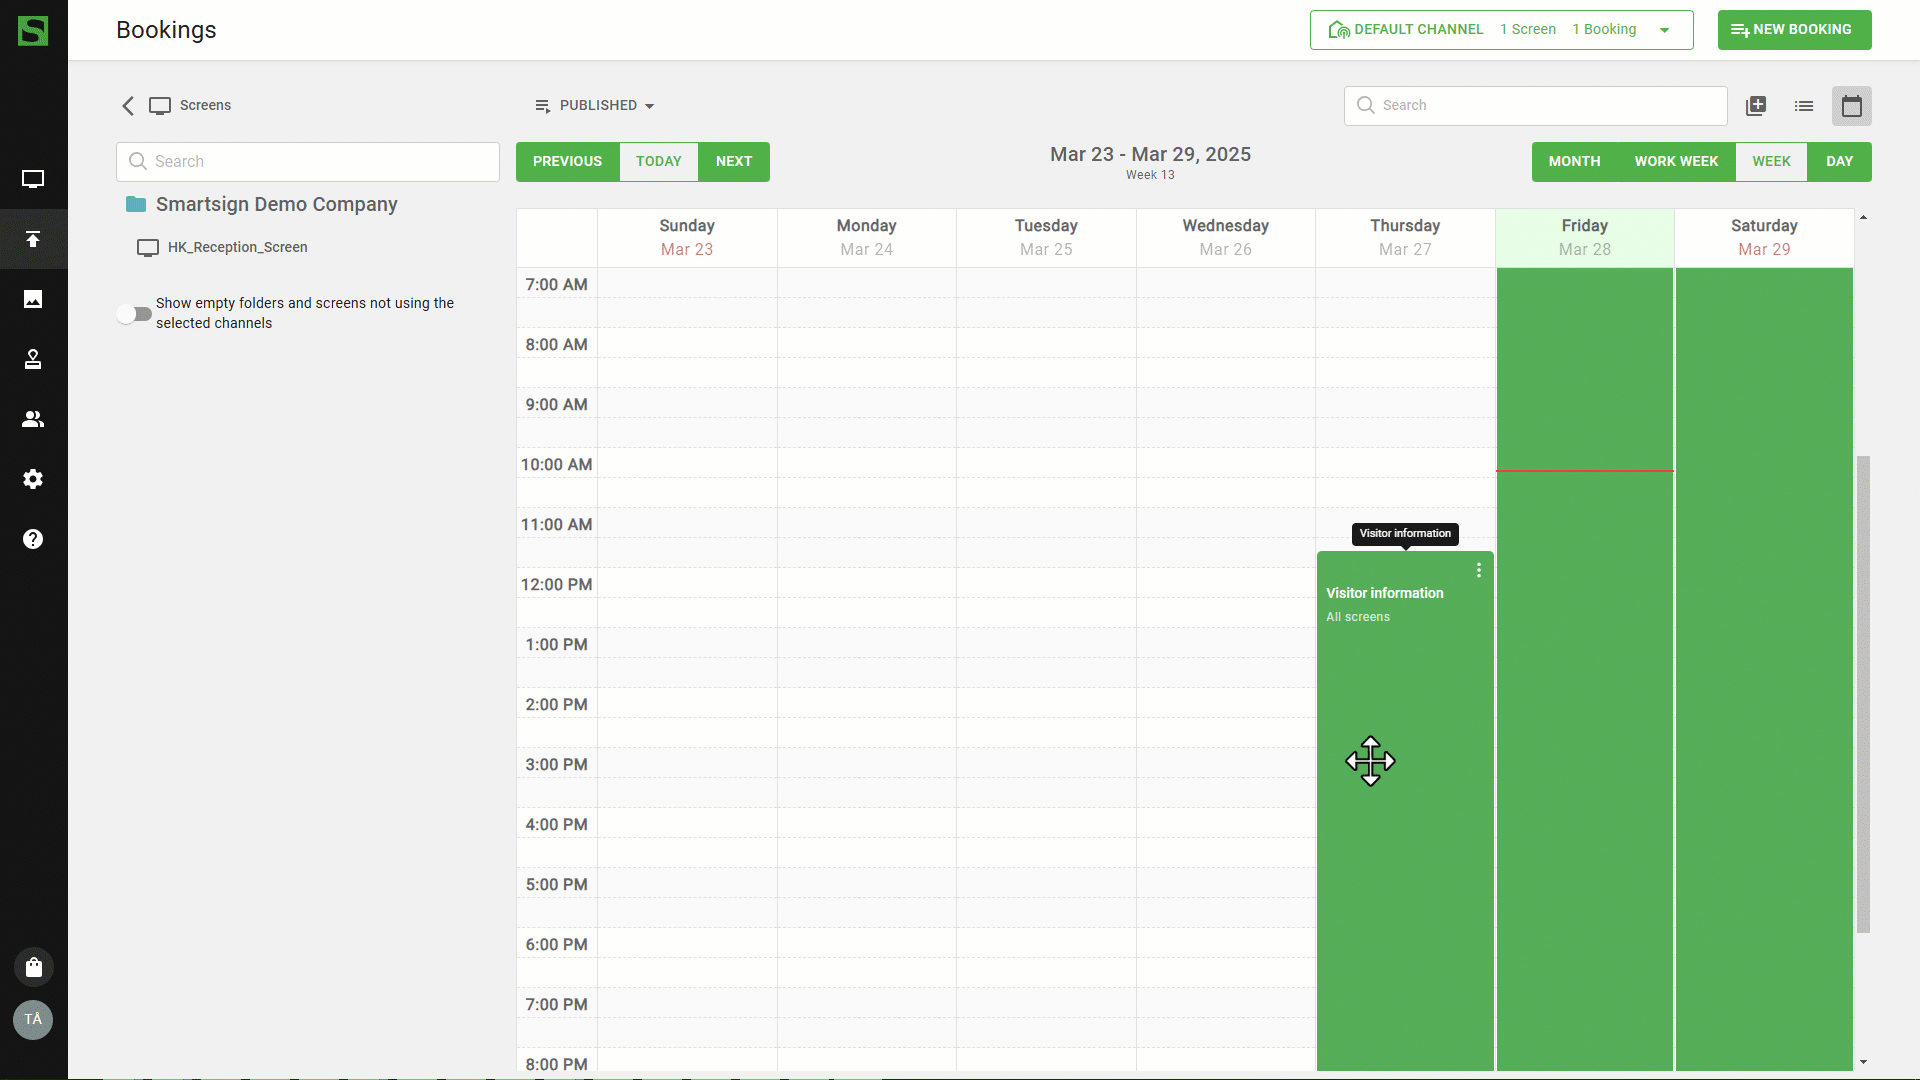
Calendar
This is the default view of your bookings. Here you can see and create bookings without limitations. You can select different views in the calendar to suit your needs like day, workweek or month.
Quick Publish
Gives you direct access to all your booking and its content. You can easily add, remove or make minor changes to the bookings without having to open them individually.
Quick publish can also be available from the Dashboard to access your booking directly at login.
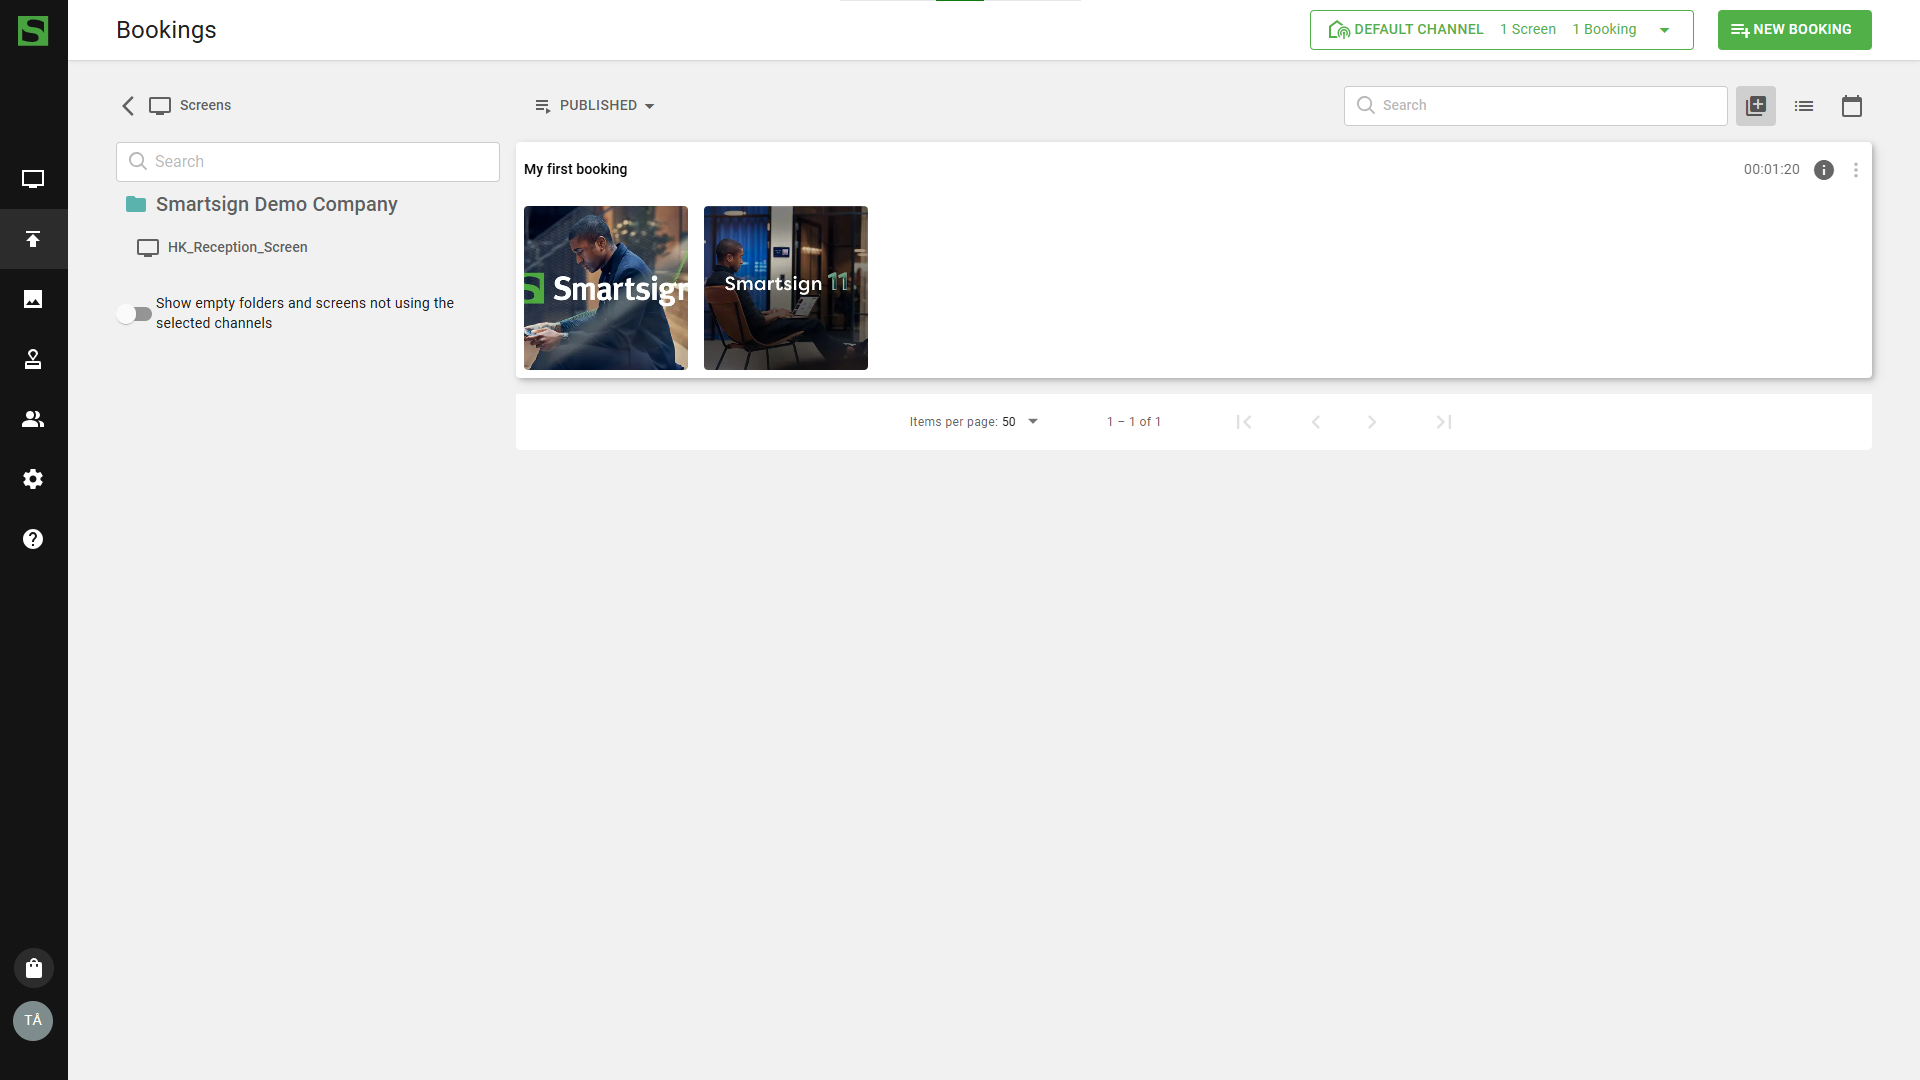
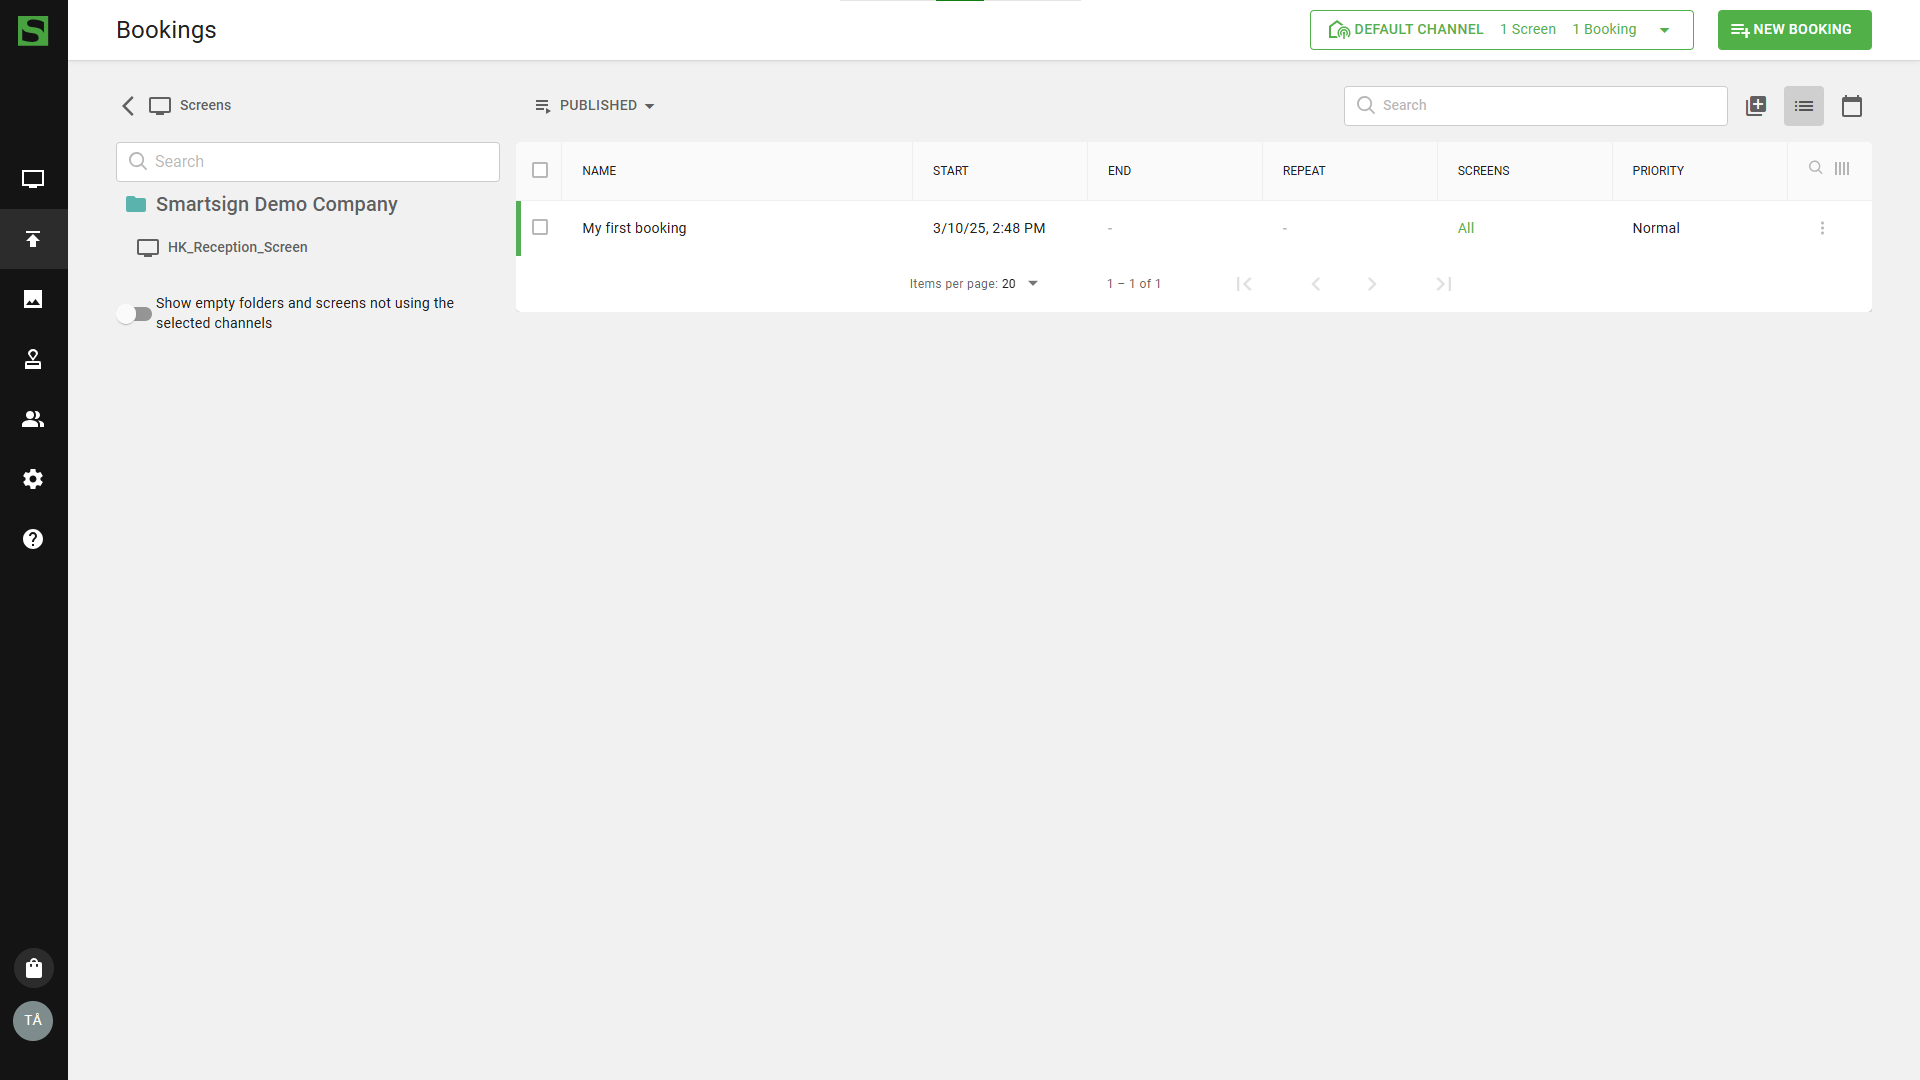
List
The List view will show all your bookings in a list. You can see all bookings for the screen folder or select individual screens to see their bookings.
Edit or remove existing bookings
Edit or removing existing bookings will affect all screens showing this booking. Proceed with caution.
Calendar
Edit booking
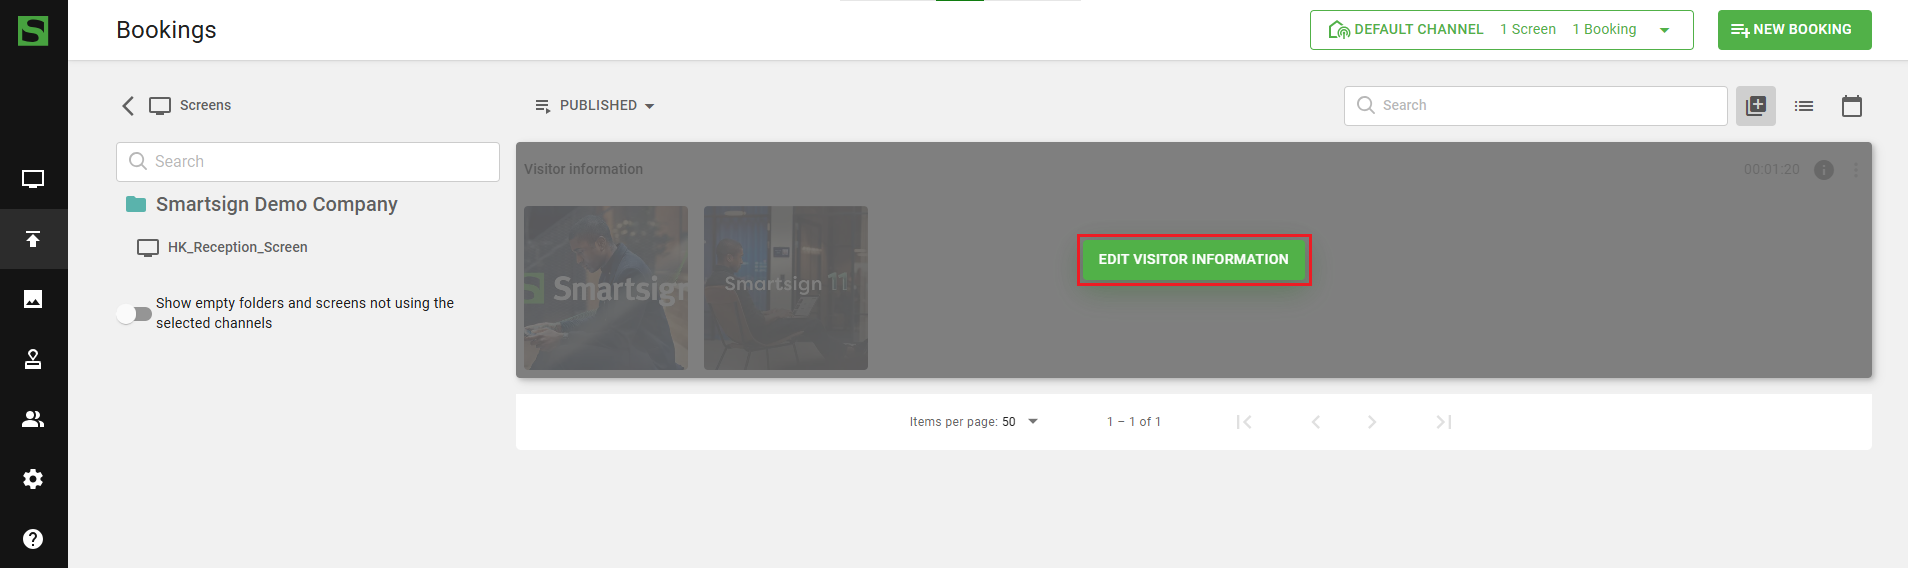
- Click on the booking to view playlist.
- Add additional media or press the options button to remove content.
- Edit name, schedule, screen selection or priority.
- Press save to confirm the changes.
Remove booking
- Click the options button on the booking.
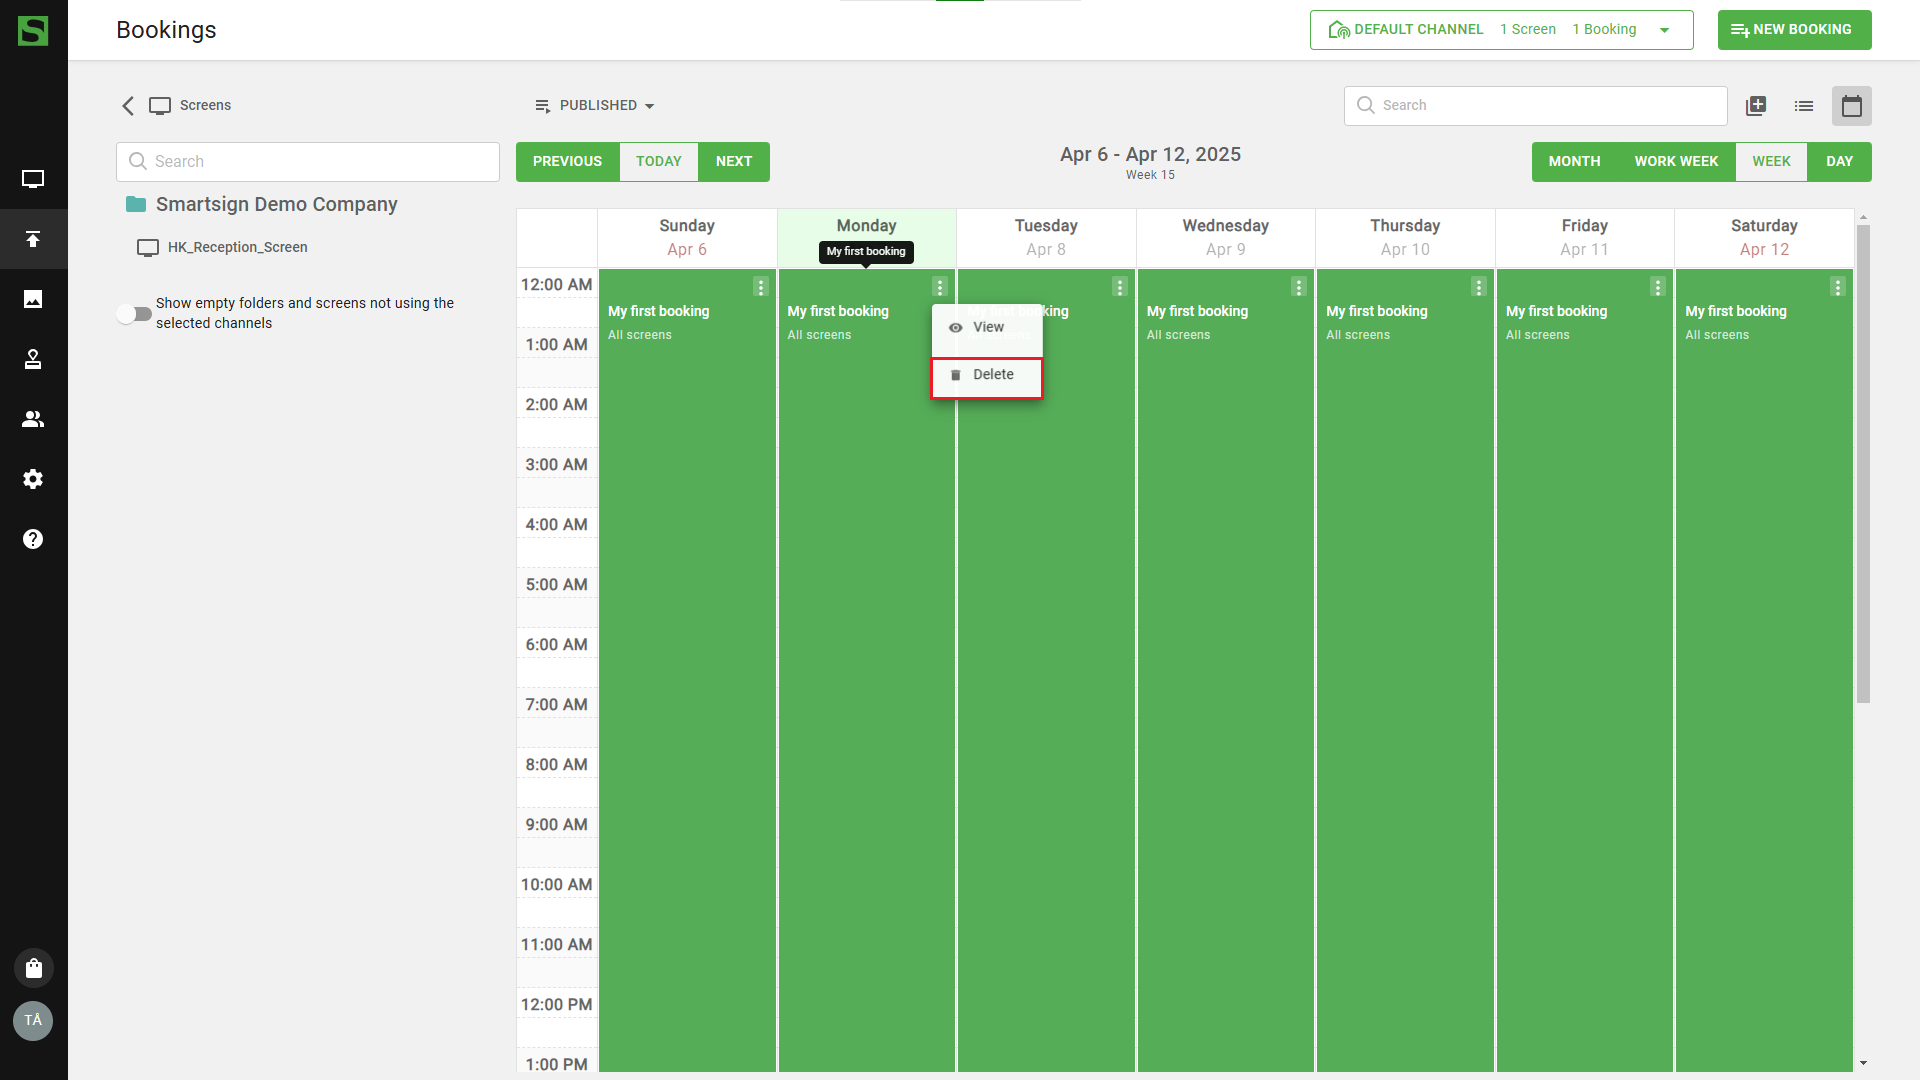
- Select delete.
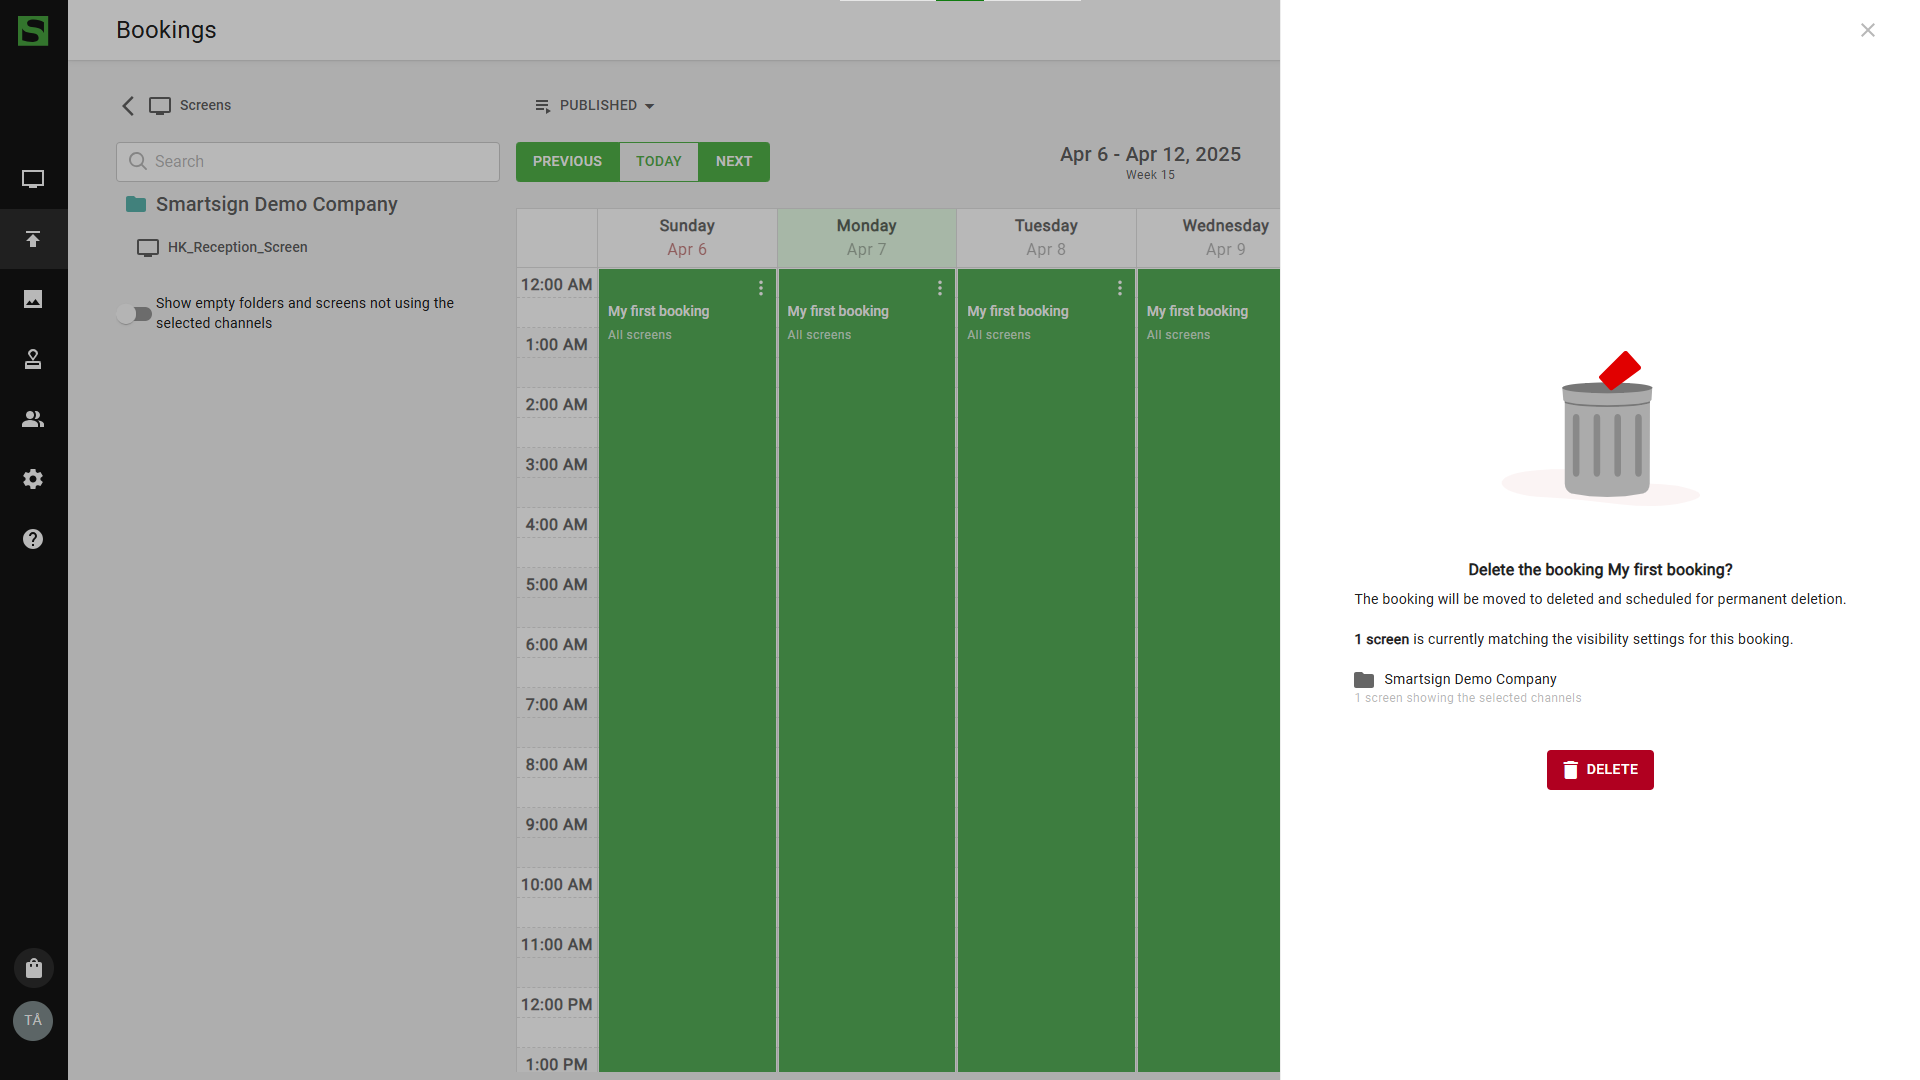
- Confirm removal.
Quick Publish
Edit booking
- All booking playlists will be shown.
- Press edit and confirm to open booking.
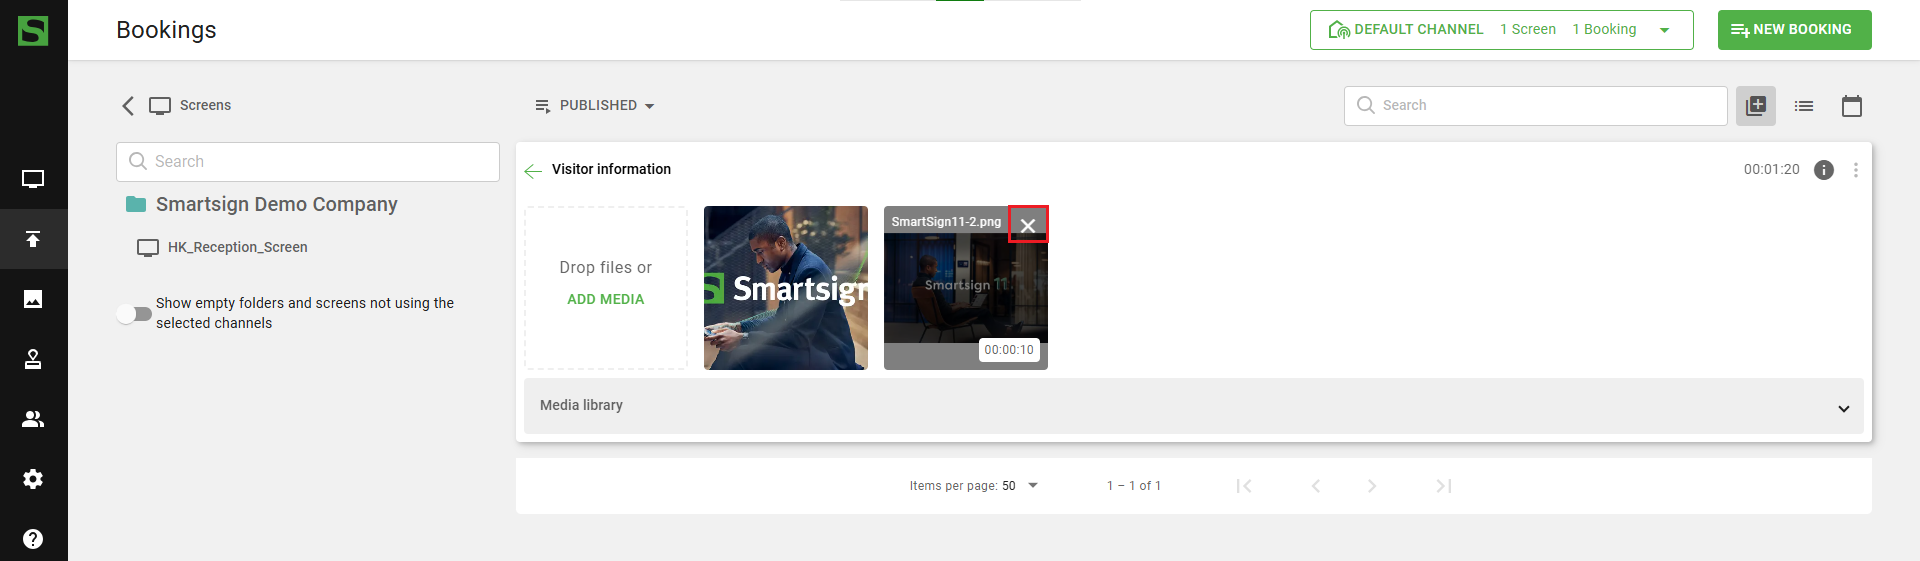
- Add media from computer or media library
- Press the X button to remove content. Changes are saved instantly.
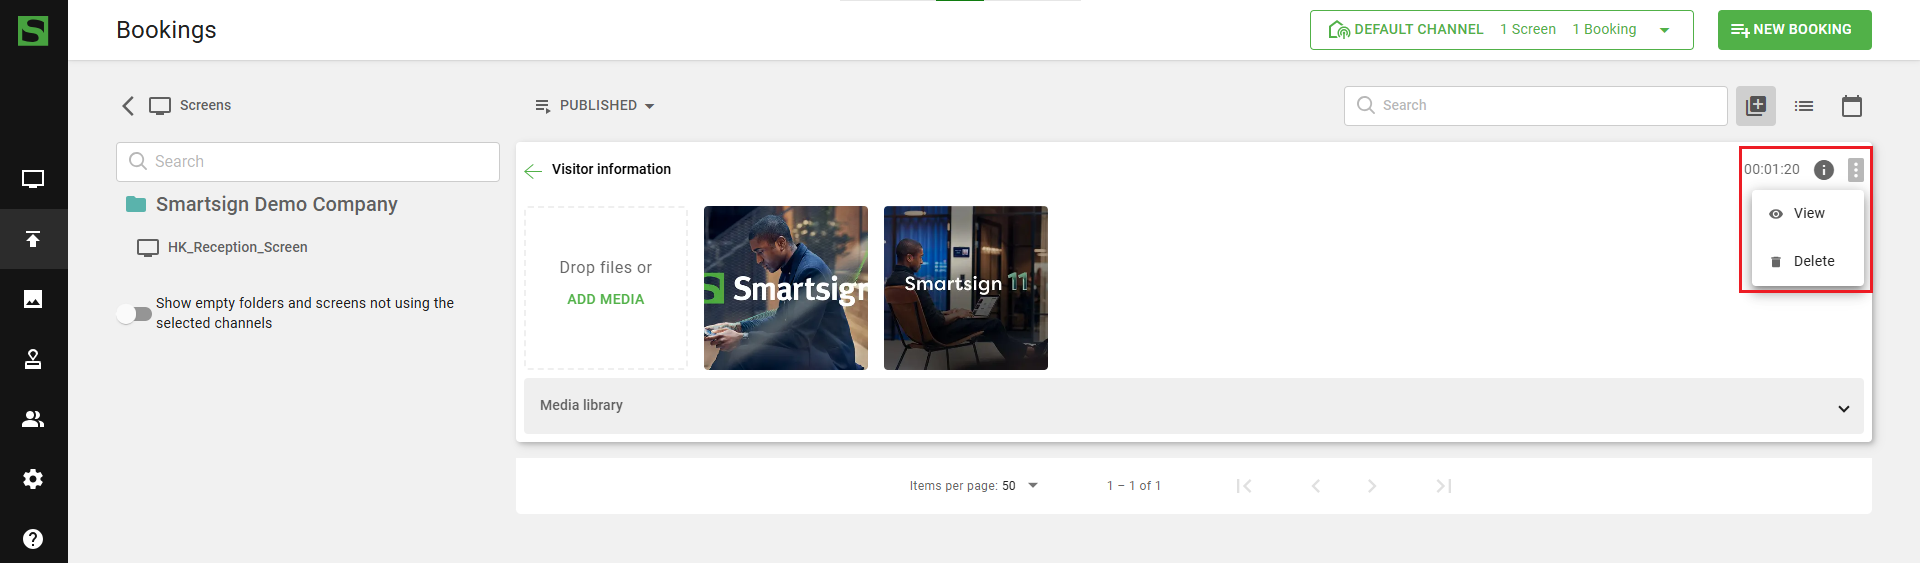
To edit name, schedule, screen selection or priority, press options and select view
Remove booking
Select remove in options menu and confirm removal.
List
Edit booking
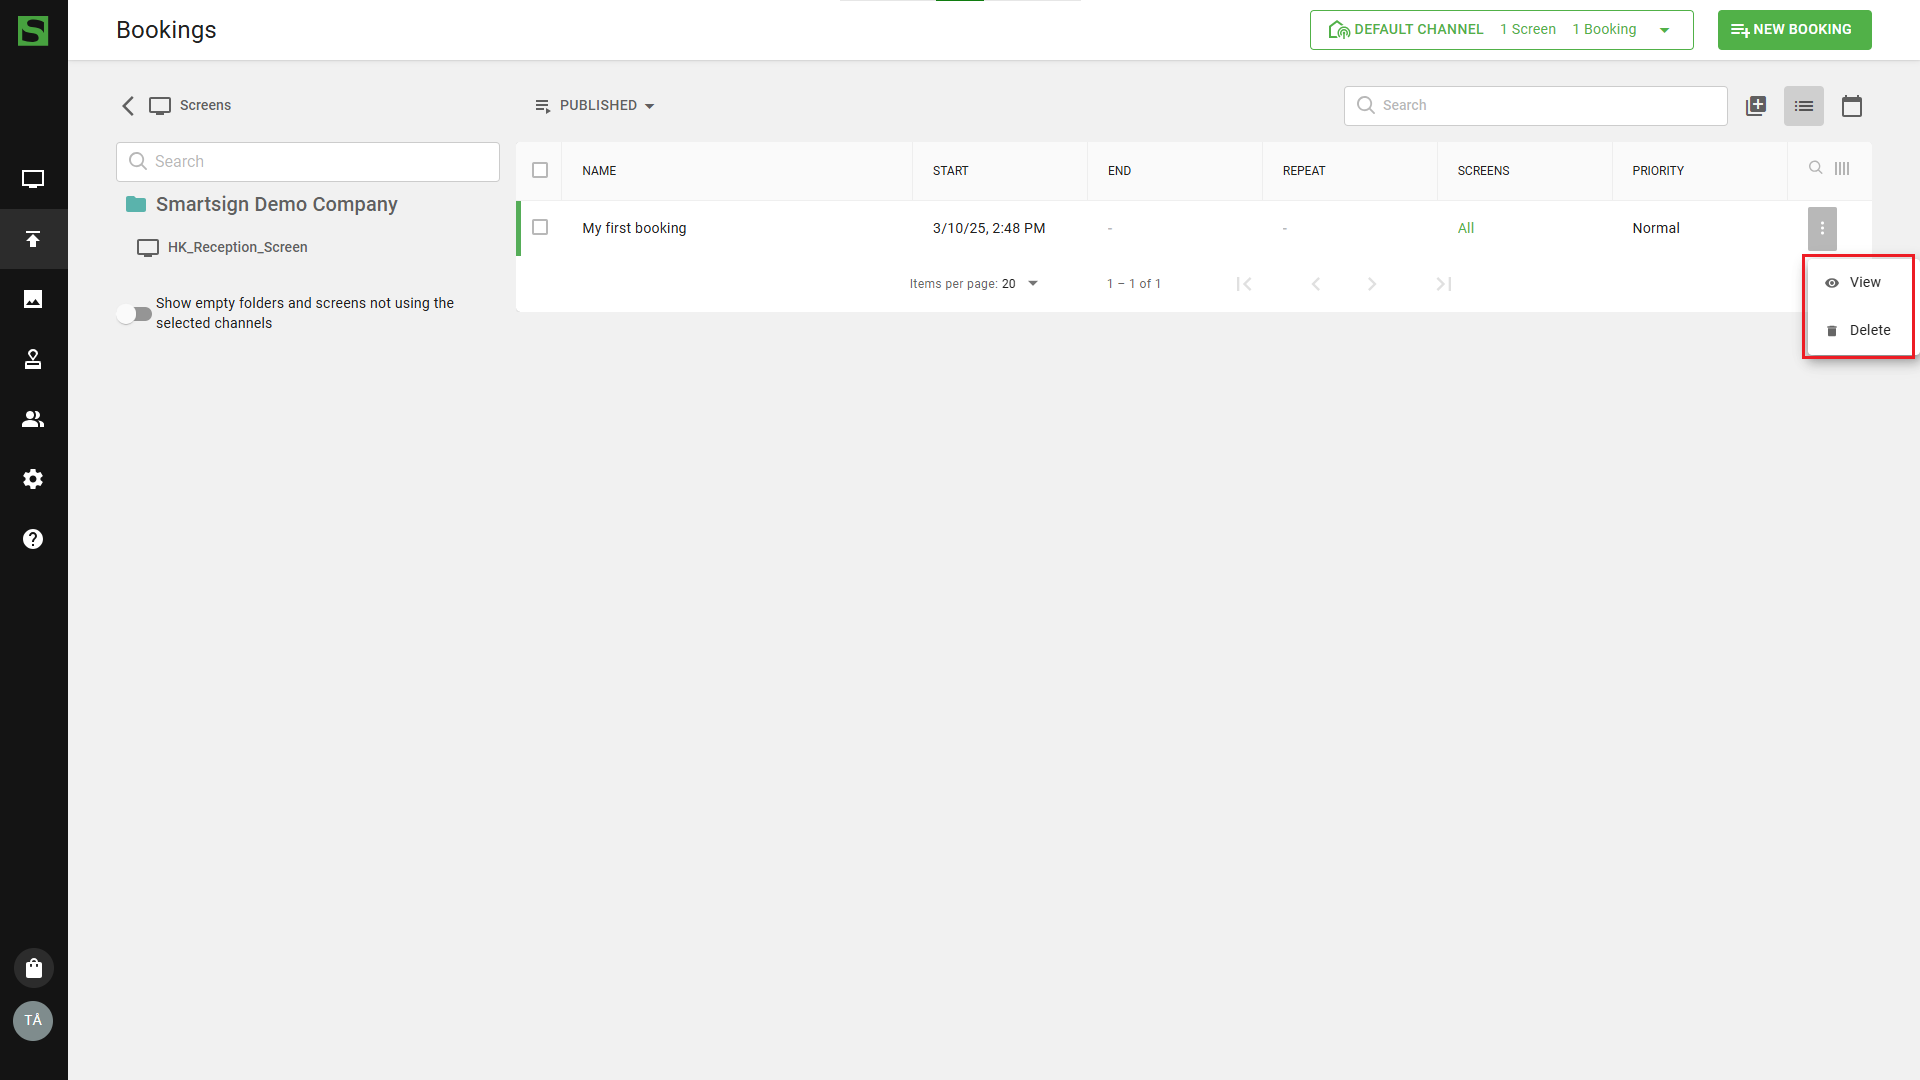
Select the options button where you can select view to open the booking and edit the playlist.
Remove booking
Select remove in options menu and confirm removal.
Booking priority
The booking priority can be used to override the screens and show only specific information during a limited time.
A higher-priority booking will always override a lower-priority one.
Example use-cases
- Critical information for all employees.
- Lunch menu during lunchtime.
- Welcome visitors to the company.
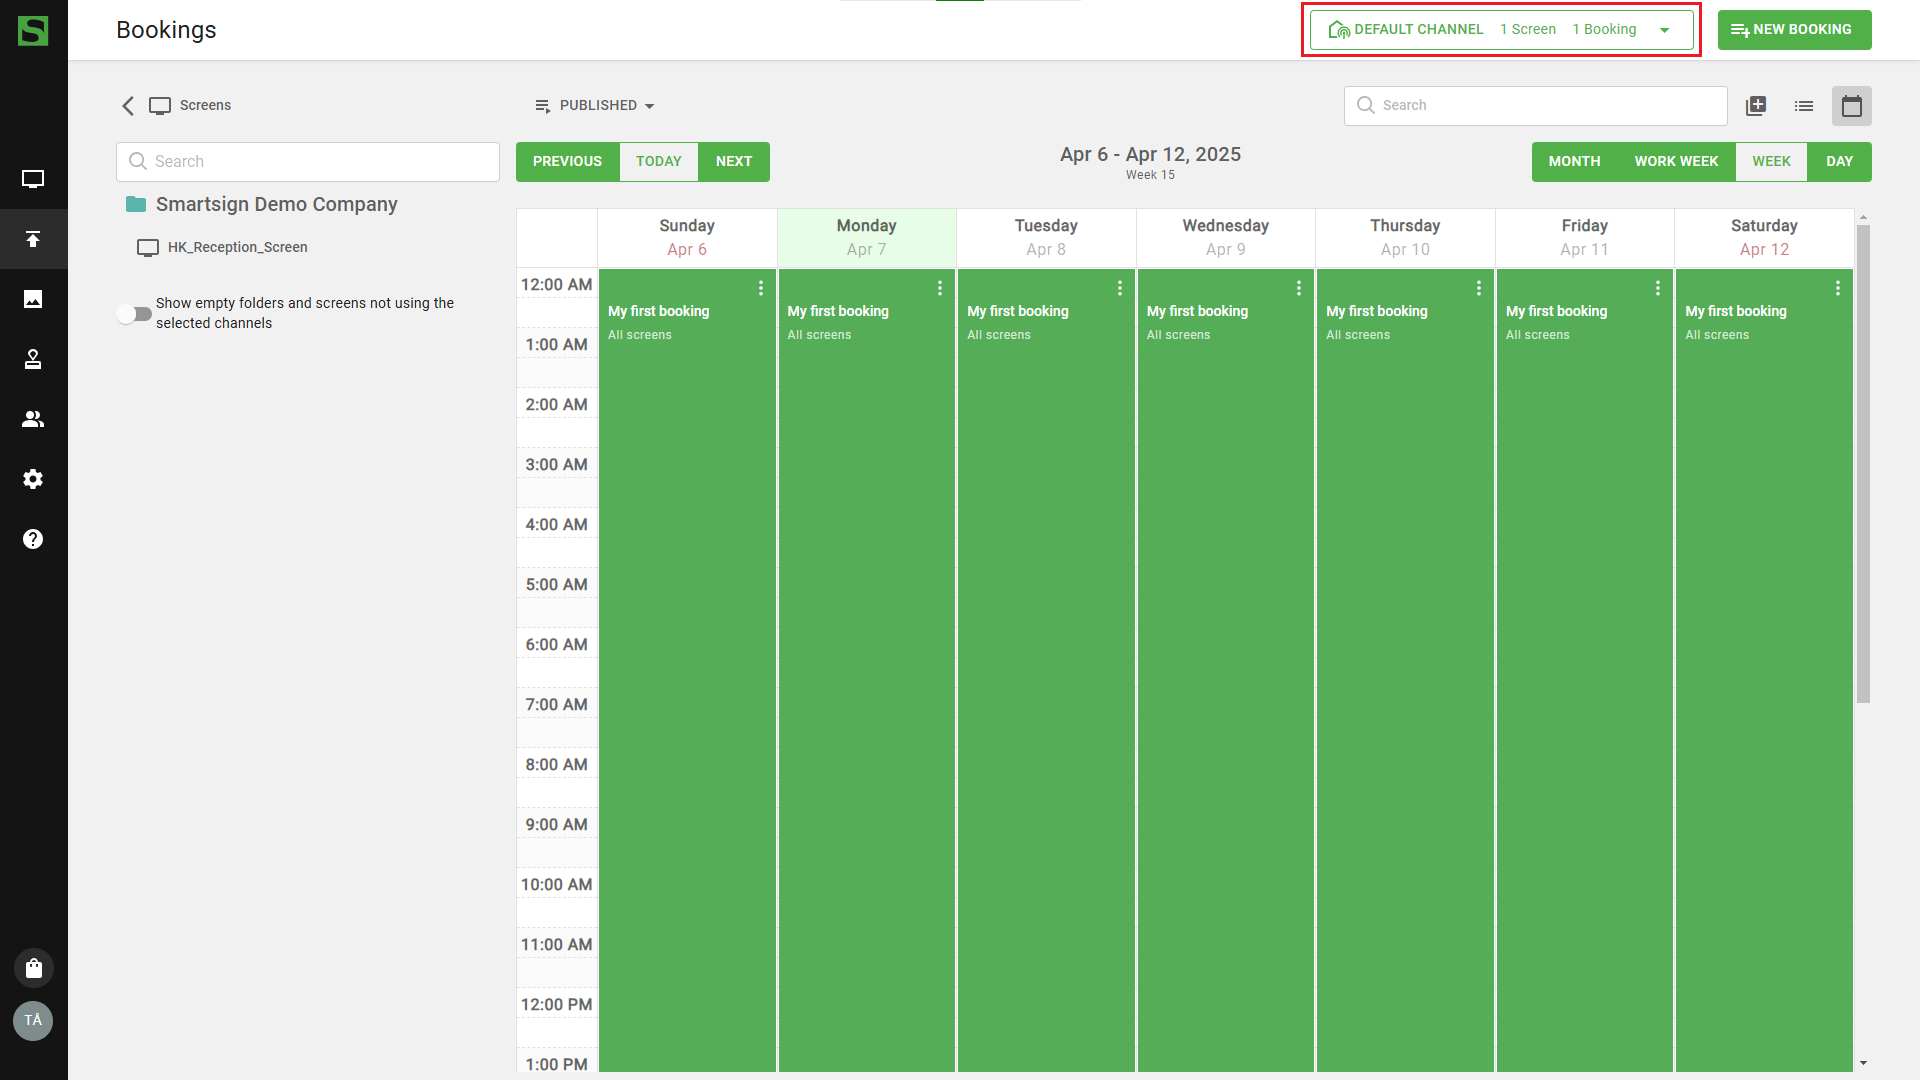
A standard booking shows content all day during the screen's active hours and has normal priority. If you create a new booking with high priority for a specific time, like 10:00–14:00, only the high-priority content will show during that time. After 14:00, the screen will go back to showing the normal-priority content.
If two bookings have the same priority, the screen will switch between them, showing both in rotation.
Favorite bookings
With favorite bookings, you can quickly access your most important bookings directly from the dashboard.
To mark a booking as a favorite, click the star button when editing a booking.